Elderberry, belonging to the genus Sambucus, is a versatile and hardy shrub that thrives in various climates, including Canada. Known for its rich berries and fragrant flowers, it has gained popularity among gardeners and health enthusiasts alike. This guide will take you through the essential steps to grow elderberry successfully in the Canadian climate, covering everything from site selection to harvest.
Understanding Elderberry
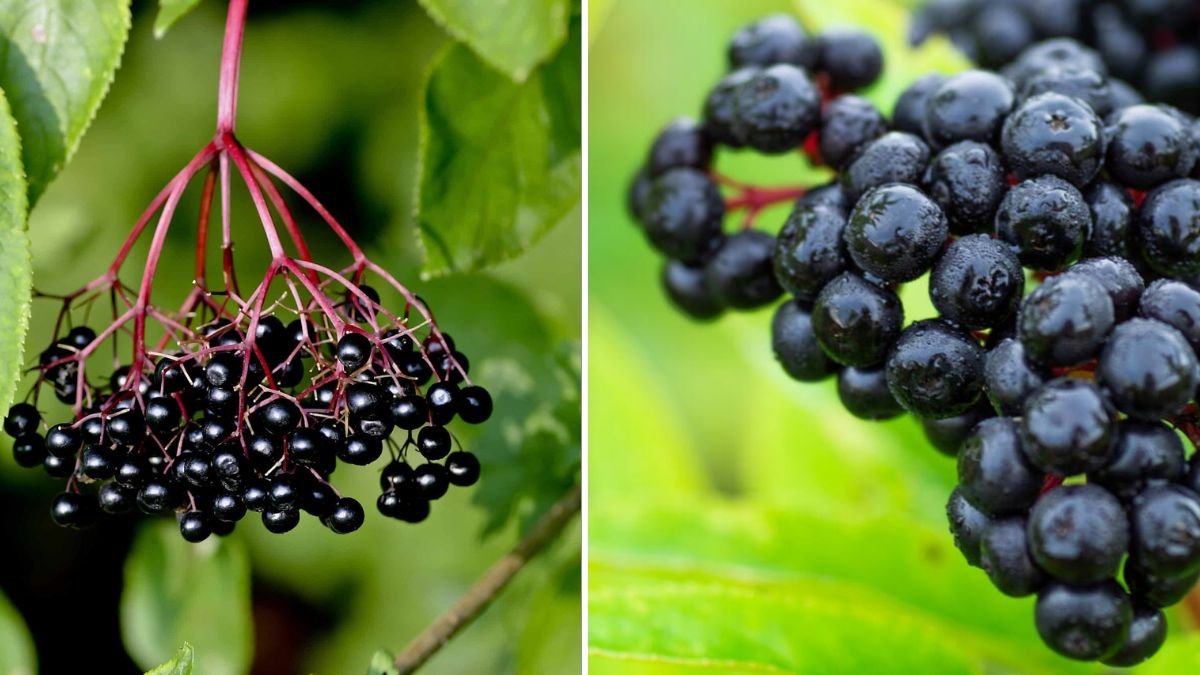
Elderberry shrubs can be found in two main species in Canada: the American elderberry (Sambucus canadensis) and the European elderberry (Sambucus nigra). Both species are well-adapted to the Canadian climate and known for their numerous health benefits. Elderberries are rich in vitamins, antioxidants, and have been traditionally used to support the immune system and treat common ailments.
Benefits of Growing Elderberry
- Nutritional Value: Elderberries are packed with vitamins A and C, potassium, and dietary fiber.
- Wildlife Habitat: These bushes attract pollinators like bees and butterflies, as well as birds that feed on the berries.
- Ornamental Appeal: Elderberry bushes have beautiful white or cream flowers in spring and vibrant foliage that turns purple or red in the fall.
- Culinary Uses: The berries can be used to make jams, syrups, wines, and medicinal tinctures.
Selecting the Right Varieties
When choosing which elderberry to plant, consider the following popular varieties suited for Canadian growing conditions:
-
American Elderberry (Sambucus canadensis): Native to North America, this variety is cold-hardy and produces large clusters of dark purple berries.
-
European Elderberry (Sambucus nigra): This variety thrives in moderate climates but can be grown in sheltered spots in Canada.
-
York: A hybrid developed for cold climates, it offers high yields and excellent flavor.

-
Nova: This cultivar is recognized for its adaptability and robust fruit production, making it ideal for northern gardens.
Site Selection and Soil Preparation
Choosing the Right Location
Elderberries grow best in full sun but can tolerate partial shade. A site that receives at least 6-8 hours of sunlight daily will promote better flowering and fruiting. Here are key factors to consider:
- Drainage: Choose a site with well-drained soil. Elderberries thrive in slightly wet conditions but will not tolerate standing water.
- Shelter: Protect the plants from strong winds, which can damage the branches and reduce fruit set.
Soil Requirements
Elderberries prefer loamy soil rich in organic matter. Before planting, conduct a soil test to determine pH levels; elderberries thrive in a pH of 5.5 to 7.0. Amend the soil with compost or well-rotted manure to enhance fertility.
Steps for Soil Preparation
- Clear the Area: Remove weeds, rocks, and debris from the planting site.
- Test the Soil: Use a DIY kit or send a sample to a lab for testing.
- Amend the Soil: Based on the test results, add the necessary amendments such as lime to raise pH or sulfur to lower it.
- Tillage: Turn the soil to a depth of 12-15 inches to improve aeration and structure.
Planting Elderberries
Optimal Planting Time

The best time to plant elderberries in Canada is in the early spring, after the last frost date has passed. Fall planting is also possible, but ensure the plants are well-established before winter.
Planting Steps
- Digging the Hole: Create a hole that is twice as wide as the root ball and the same depth.
- Spacing: Space plants 6-10 feet apart to allow for their bushy growth habit.
- Positioning: Place the plant in the hole, ensuring that the top of the root ball is level with the surrounding soil.
- Backfill: Fill the hole with soil and water thoroughly to eliminate air pockets.
- Mulching: Apply a layer of mulch (straw, wood chips) to retain moisture and suppress weeds.
Watering and Fertilizing
Watering Requirements
While elderberries are relatively tolerant of drought after establishment, they perform best with regular watering, especially during dry periods. Aim for at least 1-2 inches of water per week.
Fertilizing Elderberries
Elderberries are not heavy feeders, but applying a balanced, slow-release fertilizer in early spring can promote better growth. Follow the manufacturer’s instructions and avoid over-fertilizing.
Pruning and Maintenance
Pruning Techniques
Pruning is crucial for maintaining plant health and maximizing fruit yield. Follow these guidelines:
- Timing: Prune in late winter or early spring while the plants are still dormant.
- Remove Deadwood: Cut away dead, damaged, or crossing branches to enhance airflow.
- Shape the Plant: Aim for an open vase shape to allow light penetration and easy harvesting.
- Remove Old Canes: Elderberries produce fruit on new growth, so remove older canes every 3-5 years to encourage new growth.

Pest and Disease Management
Elderberries are generally resilient, but they can be susceptible to aphids, beetles, and fungal diseases. Regularly inspect your plants for signs of pests. Insecticidal soap or neem oil can help manage pest problems. Fungal diseases can be minimized through proper airflow and avoiding overhead watering.
Harvesting Elderberries
When to Harvest
Elderberries ripen from late summer to early fall, typically in August or September in Canada. The berries will turn a deep purple or black when ready.
Harvesting Techniques
- Check for Ripeness: Taste-test a few berries; they should be sweet and tart.
- Use Scissors: Cut the entire cluster from the plant using clean scissors or shears.
- Wear Gloves: Elderberry sap can cause skin irritation, so wearing gloves is advisable.
Processing and Using Elderberries
Preparing Elderberries
Fresh elderberries contain seeds that are toxic if consumed raw. Always cook the berries to make jams, syrups, or wine. Here’s a simple recipe to get you started:
Elderberry Syrup Recipe

-
Ingredients:
- 1 cup fresh elderberries
- 3 cups water
- 1 cup sugar or honey
- Optional: spices (cinnamon, ginger)
-
Instructions:
- Combine elderberries and water in a pot. Bring to a boil and simmer for 30 minutes.
- Strain the mixture through a fine mesh strainer.
- Add sugar/honey and stir until dissolved.
- Store in the refrigerator for up to two weeks or freeze for longer storage.
FAQs
1. Can elderberries grow in shady areas?
While elderberries can tolerate partial shade, they thrive best in full sun for optimal fruit production.
2. How do I know when to prune my elderberries?
Prune elderberries in late winter or early spring while the plants are still dormant. Look for dead or damaged wood to remove.

3. Are elderberries toxic?
Raw elderberries contain toxins that can cause nausea. Always cook the berries before consumption to eliminate toxins.
4. How long does it take for elderberries to fruit?
Elderberries typically start producing fruit in their second or third year after planting.
5. Can I grow elderberries in containers?
Yes, elderberries can be grown in large containers. Ensure the pot has adequate drainage and is at least 5 gallons in size.
6. What is the best way to support my elderberry plants?
Elderberries don’t generally need support, but ensure proper spacing for air circulation. If the branches are heavy with fruit, consider tying them gently with garden twine.
7. Do elderberries attract wildlife?
Yes, elderberries attract various wildlife, including birds and pollinators, making them an excellent addition to wildlife gardens.
Conclusion
Growing elderberries in the Canadian climate can be a rewarding experience, providing not only beautiful ornamental features for your landscape but also nutritious, delicious fruit. By following the guidelines outlined in this comprehensive guide, you can cultivate healthy elderberry plants that thrive in your garden. Whether you are an experienced gardener or a novice, elderberries are a wonderful addition to any home or community garden. Happy planting!