Pea shoots are delightful and nutritious young leaves of the pea plant and can be easily grown at home, making them a fantastic addition to salads, sandwiches, and stir-fries. This easy guide will walk you through the steps needed to successfully grow pea shoots, from selecting seeds to harvesting them, along with a few tips and a FAQ section to address common concerns.
What Are Pea Shoots?
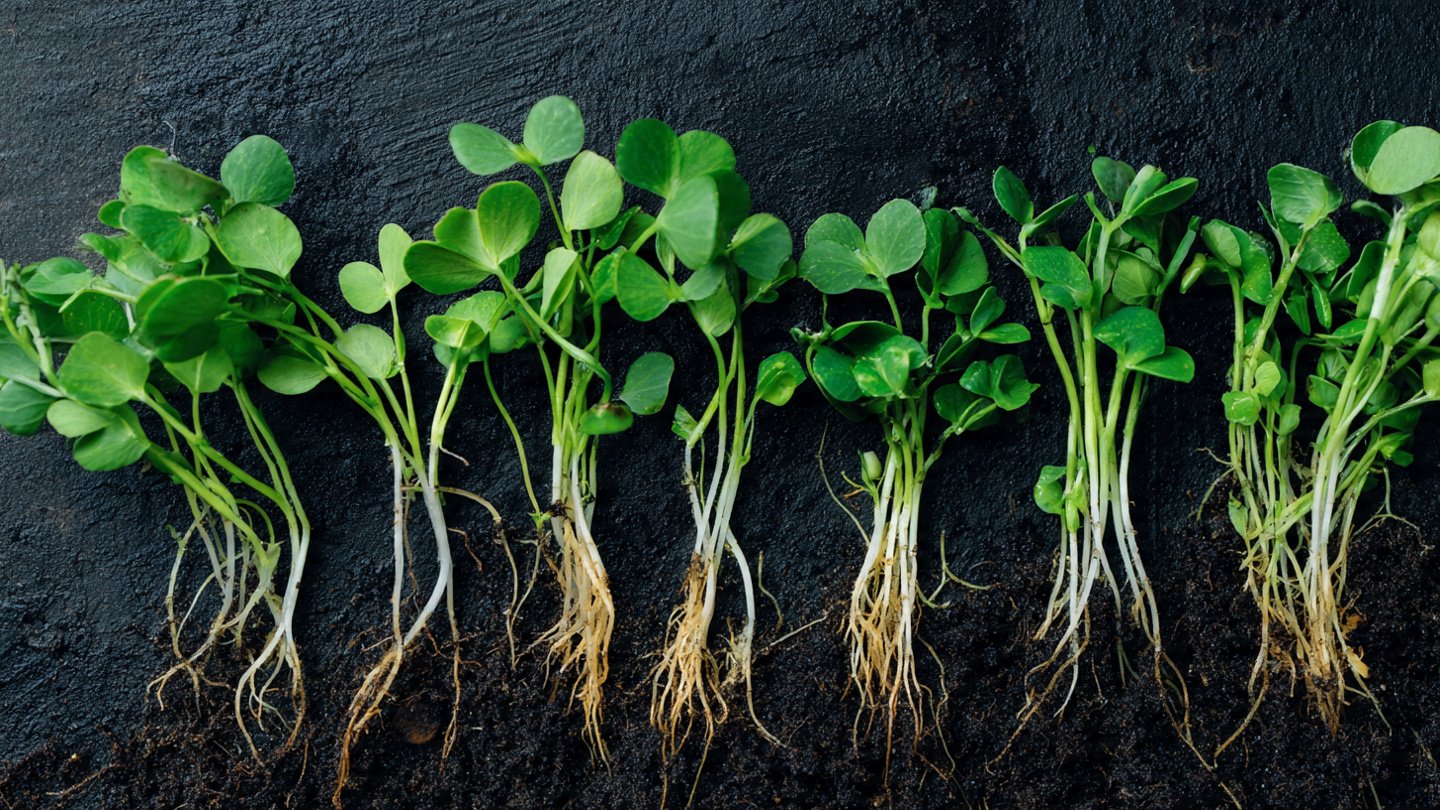
Pea shoots are the tender, edible leaves of the pea plant (Pisum sativum) harvested at an early stage of growth. They boast a sweet, delicate flavor reminiscent of fresh peas and are packed with vitamins A, C, and K, along with essential minerals like folate and iron.
Latest Posts
- OnePlus Turbo 6V 5G Launched – for Gamers with 9000mAh Battery, 220MP Camera & Snapdragon 8s Gen 4
- Realme GT 8 Pro Officially Launched – 200MP Camera, 7,000mAh Battery and Snapdragon 8 Elite
- OPPO K13 Turbo 5G Launched – 7,000mAh Battery, 50MP Camera and High-Performance Chipset
- Realme 17 Pro 5G Unveiled – IP69K Certified, 200MP Camera and Massive 8600mAh Battery
- Vivo Premium Smartphone Launched – 200MP Camera, 90W Fast Charging and 16GB RAM
- POCO F8 Ultra Launched – Snapdragon Flagship Power, Bose Audio and Huge Battery
- POCO F8 Ultra Launched – Snapdragon Flagship Power, Bose Audio and Huge Battery
- OnePlus Nord 3 5G Launched – 120Hz AMOLED Display, 50MP Camera and 5,000mAh Battery
- OnePlus Nord CE4 Launched – Powerful Snapdragon 7 Gen 3, 50MP Camera and Long-Lasting Battery
- OnePlus Smartphone Revealed – Premium 5G Smartphone with 200MP Camera, 24GB RAM and 100W Fast Charging
Benefits of Growing Pea Shoots
- Nutritional Value: High in vitamins and low in calories, pea shoots can enhance your meals with added health benefits.
- Ease of Growth: They germinate quickly and require minimal space, making them ideal for urban gardening or beginners.
- Versatile Use: Pea shoots can be used in various dishes, adding both flavor and texture.
- Continuous Harvesting: By sowing seeds at different intervals, you can enjoy fresh pea shoots over an extended period.
Steps to Grow Pea Shoots at Home

1. Gather Your Materials
To start growing pea shoots, you’ll need:
- Seeds: Look for organic pea seeds, typically labeled as “sprout” or “microgreen.”
- Container: A shallow tray or container with drainage holes. You can also use seedling trays.
- Soil: A good quality potting mix or seed starting soil.
- Watering can or spray bottle: For watering.
- Light Source: A sunny windowsill or grow lights.
2. Prepare Your Container
- Cleaning: If you’re reusing a container, make sure it is thoroughly cleaned to prevent disease.
- Filling with Soil: Fill your tray with 1-2 inches of potting soil, gently leveling it out without compacting it too much.
- Moistening the Soil: Water the soil lightly to ensure it’s evenly moist but not soggy.

3. Sowing the Seeds
- Timing: Plant your seeds about 1-2 inches apart for optimal growth. You can sprinkle them or place them in rows, depending on your container size.
- Covering Seeds: Lightly press the seeds into the soil and cover them with a thin layer of soil, about half an inch deep.
- Watering: Use your watering can or spray bottle to lightly water the seeds again, ensuring the soil stays moist.
4. Create Ideal Growing Conditions
- Light: Pea shoots thrive in bright, indirect sunlight. If you don’t have sufficient natural light, consider using grow lights for 12-16 hours per day.
- Temperature: Aim to keep the growing environment between 60-70°F (15-21°C) for optimal growth.
- Humidity: Cover the container with a lid or plastic wrap to maintain humidity levels until the seeds germinate. Remove it once they sprout.
5. Watering and Care
- Regular Monitoring: Check the soil daily to ensure it remains moist but not waterlogged. Use a spray bottle for gentle watering.
- Thinning: When the shoots are about 1 inch tall, thin them out, keeping the healthiest plants to prevent overcrowding.

6. Harvesting Pea Shoots
- Timing: Pea shoots are ready to harvest when they reach about 3-4 inches in height, usually within 10-21 days after sowing.
- Cutting: Using clean scissors, snip the shoots just above the soil line. Leave a bit of stem for further growth if desired.
- Storage: Store harvested pea shoots in the refrigerator and use them within a few days for the best flavor and nutrition.
7. Replanting for Continuous Growth
To enjoy a continuous supply of pea shoots, consider staggering your planting every week or two. This way, you’ll have fresh shoots ready to harvest while others are still growing.
Tips for Successful Growth
- Seed Selection: Always choose organic seeds to avoid chemical pesticides and maximize nutritional value.
- Avoid Crowding: Space seeds appropriately to ensure they receive enough light and air circulation.
- Clean Harvesting: Always use clean tools to avoid transferring diseases to your plants.

Common Problems and Solutions
- Leggy Shoots: If your shoots become leggy, they may not be receiving enough light. Move them to a brighter location or adjust your grow lights.
- Fungal Issues: Overwatering can cause mold or fungal growth. Ensure proper drainage and allow the soil to dry out slightly between waterings.
- Pest Infestation: Keep an eye out for pests like aphids. If detected, rinse your plants gently and treat them with an organic insecticidal soap if necessary.
Frequently Asked Questions (FAQs)
Q1: Can I use regular garden peas for growing pea shoots?
A1: It’s best to use seed varieties specifically labeled for sprouting or microgreens, as these are bred for that purpose and are free from chemicals.
Q2: How often should I water my pea shoots?
A2: Water your pea shoots daily, but ensure the soil has good drainage and does not become soggy.
Q3: What if I don’t have enough light?
A3: If natural light is insufficient, consider using fluorescent or LED grow lights for 12-16 hours each day to simulate sunlight.

Q4: How long do pea shoots last after harvesting?
A4: Pea shoots can typically last up to a week in the refrigerator. For the best taste, consume them as soon as possible.
Q5: Can I grow pea shoots in soil-less mediums?
A5: Yes, you can grow pea shoots in hydroponic systems or other soil-less mediums, but you may need to adjust your watering practices.
Q6: Can I reuse the soil after harvesting?
A6: It’s advisable to refresh the soil because depleted nutrients can affect the next crop. Consider adding compost or a balanced fertilizer before replanting.
Conclusion
Growing pea shoots at home is a rewarding and straightforward gardening project that can enhance your meals with fresh, nutrient-dense greens. With minimal space and effort, you’ll not only save money on grocery bills but also cultivate a deeper appreciation for homegrown produce. By following this guide, you’ll have all the tools necessary to start your pea shoot garden today! Happy growing!