Elderberries are not only known for their vibrant clusters of small, dark berries but also for their numerous health benefits and culinary uses. Elderberry syrup, pies, and jams are just a few products made from this beautiful bush. For those looking to cultivate a low-maintenance shrub that yields delicious results, elderberries are an excellent choice. This guide will walk you through an easy hack to grow elderberry bushes, ensuring you can enjoy this fruitful endeavor without overwhelming your gardening skills.
Understanding Elderberries
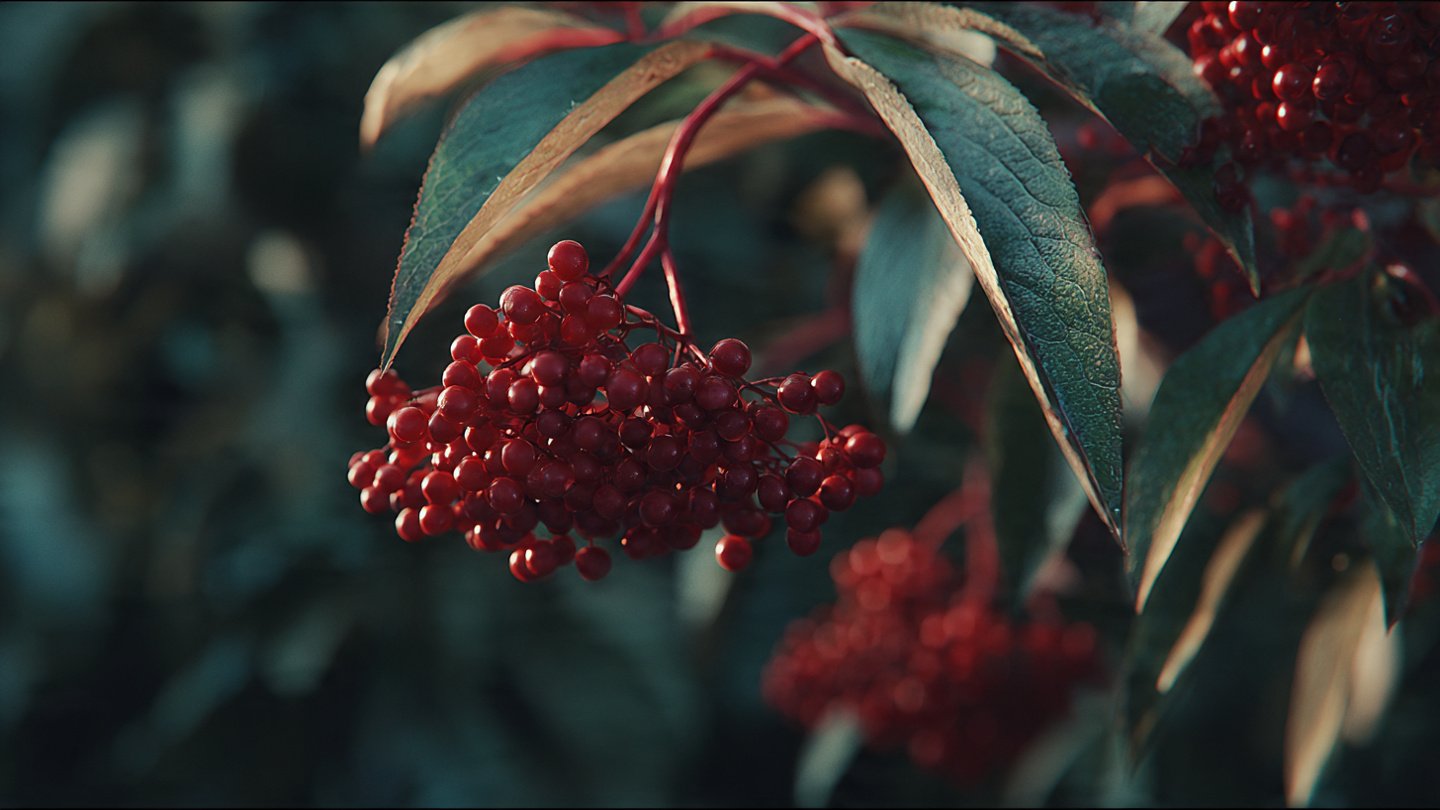
Elderberries belong to the Sambucus genus and are native to North America and Europe. The most common type cultivated for its berries is the European elderberry (Sambucus nigra) and the American elderberry (Sambucus canadensis). Both varieties thrive in various conditions and are relatively easy to grow.
Latest Posts
- OnePlus Turbo 6V 5G Launched – for Gamers with 9000mAh Battery, 220MP Camera & Snapdragon 8s Gen 4
- Realme GT 8 Pro Officially Launched – 200MP Camera, 7,000mAh Battery and Snapdragon 8 Elite
- OPPO K13 Turbo 5G Launched – 7,000mAh Battery, 50MP Camera and High-Performance Chipset
- Realme 17 Pro 5G Unveiled – IP69K Certified, 200MP Camera and Massive 8600mAh Battery
- Vivo Premium Smartphone Launched – 200MP Camera, 90W Fast Charging and 16GB RAM
- POCO F8 Ultra Launched – Snapdragon Flagship Power, Bose Audio and Huge Battery
- POCO F8 Ultra Launched – Snapdragon Flagship Power, Bose Audio and Huge Battery
- OnePlus Nord 3 5G Launched – 120Hz AMOLED Display, 50MP Camera and 5,000mAh Battery
- OnePlus Nord CE4 Launched – Powerful Snapdragon 7 Gen 3, 50MP Camera and Long-Lasting Battery
- OnePlus Smartphone Revealed – Premium 5G Smartphone with 200MP Camera, 24GB RAM and 100W Fast Charging
Benefits of Growing Elderberries
-
Nutritional Value: Elderberries are rich in vitamins A, C, and B6, along with dietary fiber. They are known for their antioxidant properties and are often used in remedies for colds and flu.
-
Culinary Uses: Elderberries can be transformed into syrups, jams, jellies, wine, and savory dishes. Their unique flavor profiles add depth to many recipes.
-
Attract Pollinators: Elderberry bushes produce beautiful white flowers that attract bees, butterflies, and other beneficial insects to your garden.
-
Landscape Appeal: Beyond their benefits, elderberry bushes serve as eye-catching landscape features with their lush foliage and striking flowers.
Easy Hack: Growing Elderberry Bushes Without Stress
Step 1: Choosing the Right Location

Elderberry bushes thrive in sunny to partially shaded areas, making location critical for successful growth. Choose a spot that receives at least 6-8 hours of sunlight daily. Ensure that the location has well-draining soil, as elderberries do not tolerate overly wet conditions.
Tip: If ground drainage is an issue, consider planting in raised beds to provide better drainage.
Step 2: Selecting the Right Variety
While there are numerous elderberry varieties, choosing the right one for your climate and purpose is essential. The American elderberry is a great option for most parts of the United States due to its adaptability and pest resistance. For cooler climates, consider the European elderberry.
Step 3: Preparing the Soil
Elderberries prefer loamy, rich soil with a pH between 5.5 and 7.5. To prepare your soil:
-
Clear the Area: Remove any weeds, grass, or debris from the planting site.
-
Test the Soil: A soil test can help determine your pH levels and nutrient content.
-
Add Organic Material: If needed, amend the soil with compost or well-rotted manure. This will provide essential nutrients and improve soil texture.
Step 4: Planting

-
Timing: The best time to plant elderberry cuttings or seedlings is in early spring after the last frost.
-
Spacing: Elderberry bushes can grow quite large; space them at least 6-10 feet apart. This ensures they have enough room to grow and air to circulate, thus preventing fungal diseases.
-
Depth: When planting, dig a hole that’s deep enough to accommodate the root system but avoid planting too deep. The root collar should be just above the soil line.
Step 5: Watering Requirements
Elderberries enjoy consistently moist soil, especially during their first growing season. Water your newly planted bushes deeply at least once a week. Once established, they can tolerate some drought but will perform best with regular watering.
Tip: Use mulch around the base of the bush to conserve moisture and suppress weeds.
Step 6: Pruning for Health and Productivity
Pruning elderberry bushes is crucial for maintaining their health and ensuring better fruit production. Here’s how:
-
Timing: Late winter or early spring is the ideal time to prune elderberries.
-
What to Trim: Remove any dead or damaged stems, and thin out overcrowded areas to allow for better airflow.
-
Encourage Growth: Cut back about one-third of the plant to promote new growth. This will yield larger and more abundant clusters of flowers and berries.

Step 7: Fertilizing
Elderberry bushes don’t require heavy fertilization, but a balanced fertilizer or compost in the spring can support growth. Avoid over-fertilization, as this can lead to excessive foliage at the expense of fruit production.
Step 8: Harvesting Your Elderberries
Elderberries typically ripen in late summer to early fall. Here’s how to know when they’re ready and how to properly harvest them:
-
Color: The berries should be dark purple or black.
-
Timing: Harvest when the clusters are fully developed but before they start to shrivel.
-
Method: Use scissors or pruning shears to cut the entire cluster from the stem, avoiding damage to the plant.
Step 9: Using Your Elderberries

Once harvested, elderberries can be used fresh, dried, or cooked. Note that raw elderberries and other parts of the plant contain toxins and must be properly processed before consumption. Cooking eliminates these toxins.
Step 10: Pest and Problem Management
Elderberries are relatively pest-resistant, but they can be susceptible to aphids, scale, and certain diseases. Here’s how to manage common issues:
-
Inspections: Regularly check your plants for any signs of pests.
-
Natural Remedies: Use insecticidal soap or neem oil as a natural deterrent if pests are detected.
-
Companion Planting: Consider planting herbs like basil or marigolds nearby to deter pests.
Maintenance Tips for Stress-Free Growth
- Mulching: A layer of organic mulch will reduce weed competition and help retain soil moisture.
- Regular Monitoring: Keep an eye out for any signs of distress in the plant, such as wilting or yellowing leaves.
- Join Gardening Communities: Engaging with local or online gardening groups can provide valuable insights and support.
FAQs

1. How long does it take for an elderberry bush to produce fruit?
Elderberry bushes usually start producing fruit in their second or third year.
2. Can elderberry bushes grow in pots?
Yes, elderberries can be grown in large containers as long as they receive adequate sunlight, water, and nutrients.
3. What is the best way to preserve harvested elderberries?
Elderberries can be frozen, dried, or made into syrup, jam, or wine for long-term preservation.
4. Are elderberry plants invasive?
While some elderberry species can spread rapidly, they are generally manageable with regular pruning and care.
5. Can I grow elderberries in partial shade?
Yes, elderberries can tolerate partial shade, but full sun will yield better fruit production.
6. Do elderberries attract wildlife?
Elderberries are known to attract birds and beneficial insects, making them a valuable addition to a wildlife garden.
Conclusion
Growing elderberry bushes can be a rewarding and easy endeavor, especially if you follow these simple steps. With minimal effort, you can cultivate a fruitful and beautiful addition to your garden that offers culinary rewards and ecological benefits. Whether you’re a seasoned gardener or a beginner, the process can be enjoyable and stress-free, allowing you to reap the benefits of this incredible shrub for years to come.