Building a fairy door in an old tree is a delightful project that can spark creativity and imagination in children. It’s a simple yet magical way to encourage kids to connect with nature and explore the world of fantasy. This article will guide you through the process of creating a fairy door, from the materials needed to the steps involved, and even offer tips to make the experience extra special.
Why Build a Fairy Door?
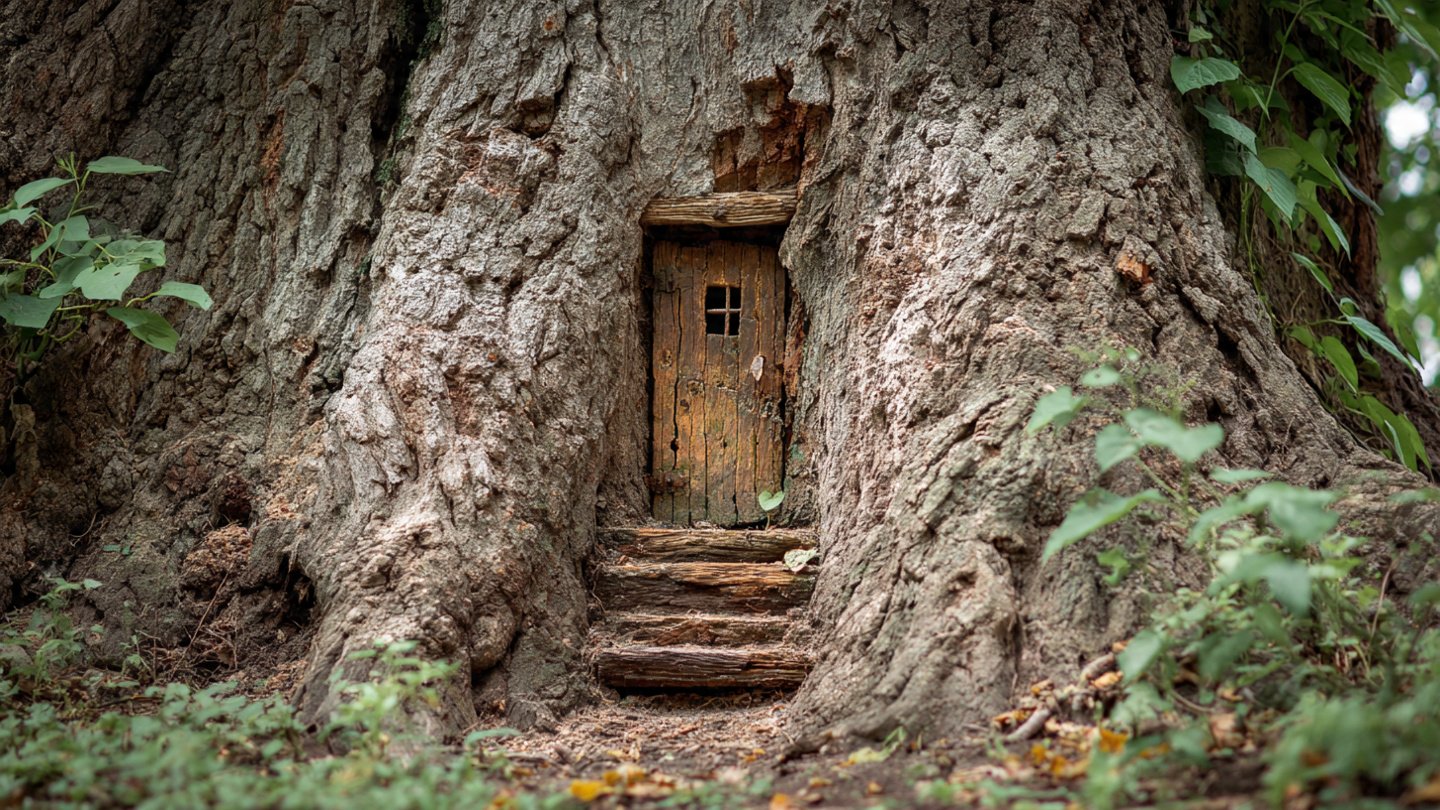
Fairy doors are enchanting, whimsical installations that symbolize a link between the real world and the fantastical. Children often enjoy the idea of a hidden world where fairies, elves, or other magical beings reside. By building a fairy door, you can:
Latest Posts
- OnePlus Turbo 6V 5G Launched – for Gamers with 9000mAh Battery, 220MP Camera & Snapdragon 8s Gen 4
- Realme GT 8 Pro Officially Launched – 200MP Camera, 7,000mAh Battery and Snapdragon 8 Elite
- OPPO K13 Turbo 5G Launched – 7,000mAh Battery, 50MP Camera and High-Performance Chipset
- Realme 17 Pro 5G Unveiled – IP69K Certified, 200MP Camera and Massive 8600mAh Battery
- Vivo Premium Smartphone Launched – 200MP Camera, 90W Fast Charging and 16GB RAM
- POCO F8 Ultra Launched – Snapdragon Flagship Power, Bose Audio and Huge Battery
- POCO F8 Ultra Launched – Snapdragon Flagship Power, Bose Audio and Huge Battery
- OnePlus Nord 3 5G Launched – 120Hz AMOLED Display, 50MP Camera and 5,000mAh Battery
- OnePlus Nord CE4 Launched – Powerful Snapdragon 7 Gen 3, 50MP Camera and Long-Lasting Battery
- OnePlus Smartphone Revealed – Premium 5G Smartphone with 200MP Camera, 24GB RAM and 100W Fast Charging
- Encourage imaginative play.
- Foster a connection with nature.
- Create a unique outdoor art project.
- Inspire storytelling and creativity.
Materials Needed
Before you start building your fairy door, gather the following materials:
- Wooden pieces: You can use small scrap wood, thin plywood, or even popsicle sticks for the door frame and door.
- Paint: Non-toxic acrylic or outdoor paint in various colors to decorate the door.
- Adhesive: Wood glue or hot glue gun for assembly.
- Decorative elements: Small beads, buttons, or stones for added ornamentation.
- Sandpaper: For smoothing rough edges on wooden pieces.
- Sealant: Optional, for protecting the door from the elements.
- Tools: Scissors, paintbrushes, and a small saw for cutting wood (adult supervision required).

Steps to Build a Fairy Door
1. Choose the Perfect Tree
Look for an old, sturdy tree that has a hollowed area or a flat space at its base. Oak, willow, and maple trees are often good choices due to their thick bark and strong trunks. Ensure the tree is healthy and not dying or rotting.
2. Design Your Fairy Door
Before cutting any wood, sketch out your design on paper. Consider elements like:
- The shape: Will it be a classic rectangular door, or will you choose an arched design?
- Colors: What color scheme do you want? Bright colors often attract kids, while more natural hues can blend with the surroundings.
- Decorations: Will your door have a doorknob, flower boxes, or other embellishments?

Once you have a clear design, transfer the measurements onto your wooden pieces.
3. Cut and Shape the Wooden Pieces
Using the saw, carefully cut out the pieces for your fairy door according to your design. Adult supervision is required for this step. After cutting:
- Use sandpaper to smooth out rough edges to prevent splinters.
- Dry-fit the pieces together to ensure they align properly.
4. Assemble the Door
Using wood glue or a hot glue gun, assemble the pieces. Start with the frame, then attach the door itself. Ensure every element is securely bonded.
5. Paint and Decorate

Once the door is assembled and the glue has dried, it’s time to paint! Use non-toxic acrylic paint for a vibrant finish. Let your kids participate in this step. They can:
- Decorate the door any way they like, making it truly unique.
- Add details like a doorknob or a tiny mailbox using beads or buttons.
6. Seal the Door (Optional)
If you used outdoor paint, sealing the door may not be necessary. However, if you want to ensure longevity, consider applying a coat of waterproof sealant to protect it from the elements.
7. Install the Fairy Door
Find the perfect spot on the tree to install your fairy door. Ensure it is at a suitable height for children to interact with it. Use strong adhesive or screws (with adult help) to secure the door firmly against the tree.
8. Create a Fairy Garden (Optional)
If time permits, you can expand the project by creating a fairy garden around the base of the tree. Add small plants, shiny stones, or miniature furniture to enhance the magical environment. This will add to the overall charm and offer more interactive elements for kids.
Making It Special

To elevate the project, consider these additional tips:
- Create a Story: Make up a story about the fairies that will live behind the door.
- Leave Notes: Have your children write little notes to the fairies and leave them near the door.
- Regular Updates: Encourage your kids to update the decorations every season or for special occasions.
Conclusion
Building a fairy door is not just a craft; it’s an invitation to imagination and adventure. It encourages kids to engage with nature, fosters creativity, and enhances their outdoor experience. Whether you build a simple door or create an entire fairy garden, the memories made during this project will last a lifetime. So gather your materials, find your perfect tree, and let the magic begin!
FAQs
1. Can I use any tree for the fairy door?
It’s best to choose a healthy, sturdy tree that can support the door. Avoid trees that are dying or rotting.
2. What if it rains?

Using outdoor paint and adding a sealant will help protect the fairy door from the elements. However, if extreme weather is expected, consider bringing it inside temporarily.
3. How can we maintain the fairy door?
Regular checks for repairs and re-painting or re-sealing when needed will help keep the fairy door in good condition.
4. Can I involve my child in every step?
Absolutely! Involving children in the design, painting, and decoration processes enhances their creativity and connection to the project.
5. Is a fairy door only for kids?
No! Fairy doors can be enjoyed by people of all ages. They can be a whimsical addition to any garden or home décor.