Sunflower shoots are not only visually appealing but also packed with nutrition, making them a great addition to your diet. These tiny greens are rich in vitamins, minerals, and antioxidants. They are often found in salads, sandwiches, and smoothies, and their nutty flavor and crispy texture make them versatile. Growing sunflower shoots is simple and can be done in various environments—from a windowsill to a garden. This article will guide you through the process of growing sunflower shoots, covering everything from seed selection to harvesting.
Introduction to Sunflower Shoots
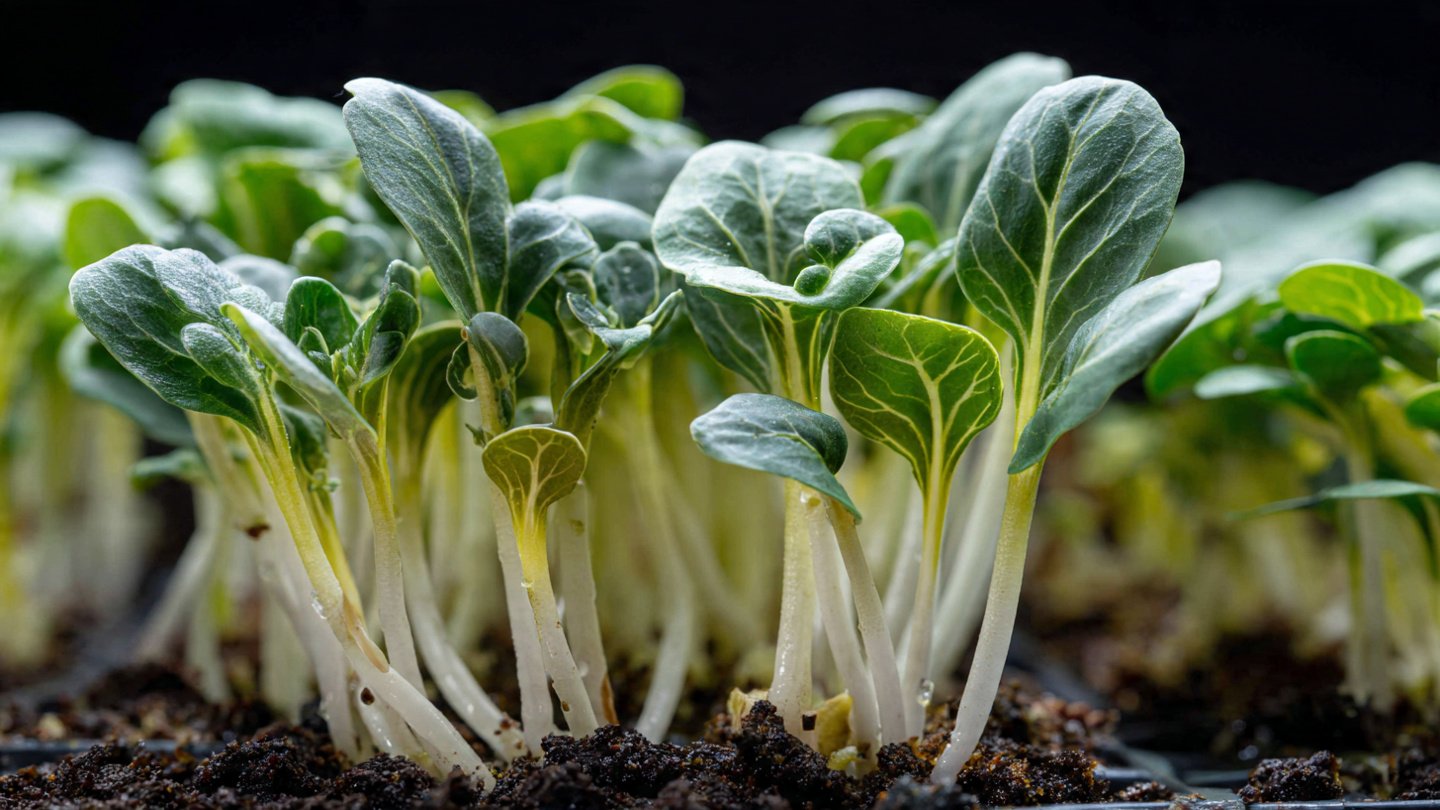
Sunflower shoots are the young shoots of the sunflower plant (Helianthus annuus). They are typically harvested when they are around 7 to 14 days old. Unlike mature sunflowers, which are grown for their seeds and beautiful blooms, sunflower shoots are valued for their nutritional benefits. They are rich in:
Latest Posts
- OnePlus Turbo 6V 5G Launched – for Gamers with 9000mAh Battery, 220MP Camera & Snapdragon 8s Gen 4
- Realme GT 8 Pro Officially Launched – 200MP Camera, 7,000mAh Battery and Snapdragon 8 Elite
- OPPO K13 Turbo 5G Launched – 7,000mAh Battery, 50MP Camera and High-Performance Chipset
- Realme 17 Pro 5G Unveiled – IP69K Certified, 200MP Camera and Massive 8600mAh Battery
- Vivo Premium Smartphone Launched – 200MP Camera, 90W Fast Charging and 16GB RAM
- POCO F8 Ultra Launched – Snapdragon Flagship Power, Bose Audio and Huge Battery
- POCO F8 Ultra Launched – Snapdragon Flagship Power, Bose Audio and Huge Battery
- OnePlus Nord 3 5G Launched – 120Hz AMOLED Display, 50MP Camera and 5,000mAh Battery
- OnePlus Nord CE4 Launched – Powerful Snapdragon 7 Gen 3, 50MP Camera and Long-Lasting Battery
- OnePlus Smartphone Revealed – Premium 5G Smartphone with 200MP Camera, 24GB RAM and 100W Fast Charging
- Vitamins: High in vitamin E, B vitamins (such as folate), and vitamin C.
- Minerals: Contains essential minerals like magnesium, phosphorus, potassium, and iron.
- Antioxidants: Help combat oxidative stress and inflammation in the body.
Choosing the Right Seeds
Selecting High-Quality Seeds
When growing sunflower shoots, choose high-quality seeds specifically meant for sprouting. Look for organic seeds that are free from pesticides and chemicals. Many garden stores or online retailers offer varieties labeled as “sprouting seeds,” ensuring they are suitable for consumption. Look for smaller seeds, such as the “black oil sunflower” seeds, which are ideal for sprouting.
Checking for Viability

To ensure your seeds are viable, perform a germination test. Put a few seeds between damp paper towels and monitor them daily. If they sprout within a few days, they are good to use. If not, you may need a fresh batch.
Essential Supplies
Before starting, gather your supplies:
- Seeds: High-quality sunflower seeds (approximately 1 cup for a small yield).
- Containers: Shallow trays, pots, or seedling containers. You can use recycled containers like plastic clamshells or shallow seed trays.
- Soil: Organic potting mix or seed starting soil. Avoid using garden soil, as it can introduce pests and diseases.
- Water: Clean, preferably filtered water for soaking and misting the seeds.
- Light: A sunny windowsill or grow lights if indoors.
- Humidity Dome or Plastic Wrap: Optional, depending on your growing environment.
Step-by-Step Growing Process
Step 1: Soaking the Seeds
- Prepare the Seeds: Rinse the seeds in cool water to remove any debris.
- Soaking: Place the seeds in a bowl and cover them with water. Allow them to soak for about 6-8 hours. This process helps to kick-start the germination.

Step 2: Draining and Rinsing
- After soaking, drain the seeds using a fine mesh strainer or sprouting jar.
- Rinse the seeds thoroughly under cool water. This removes any potential mold spores and helps with germination.
Step 3: Planting the Seeds
- Prepare the Containers: Fill your chosen containers with the soil mix, leaving about half an inch of space at the top.
- Spread the Seeds: Evenly distribute the soaked seeds on the surface of the soil. Aim for a density of around 1 seed per square inch.
- Cover the Seeds: Lightly cover the seeds with a thin layer of soil, approximately 1/4 inch deep.
Step 4: Watering
- Misting: Mist the soil surface with water using a spray bottle to keep the soil moist, not soggy.
- Setting up: If using a humidity dome or plastic wrap, cover the container to create a greenhouse-like environment. This will help retain moisture.

Step 5: Germination Phase
- Place the containers in a warm, dark location for the first 2-3 days. A temperature of around 70-75°F (21-24°C) is ideal.
- Check the seeds daily to ensure the soil stays moist. Once you see sprouts, remove the cover.
Step 6: Light Exposure
- Transition to Light: Once the seedlings begin to emerge (usually within 2-5 days), move the containers to a well-lit area or under grow lights.
- Light Conditions: Provide at least 12-16 hours of light each day. Adjust the height of the grow lights as the plants grow.
Step 7: Watering and Maintenance
- Regular Watering: Continue to mist the seedlings to keep them hydrated. Avoid overwatering, focusing on moisture at the soil level.
- Air Circulation: If growing in a crowded environment, ensure there is enough air circulation to prevent mold growth.
Tips for Optimal Growth
- Don’t Overcrowd: Space the seeds adequately to avoid competition for nutrients and light.
- Watch out for Pests: Keep an eye out for pests like aphids or fungus gnats. Maintaining cleanliness and good air circulation can help mitigate infestations.
- Nutritional Boost: If your sprouts look pale, consider using a diluted organic liquid fertilizer designed for young plants.

Harvesting Your Sunflower Shoots
Timing the Harvest
Sunflower shoots are typically ready for harvest 7 to 14 days after planting, depending on growing conditions. Look for sprouts that are around 3 to 6 inches tall and feature their first true leaves.
How to Harvest
- Using Scissors: Use clean, sharp scissors to trim the shoots just above the soil line.
- Avoid Soil Contamination: Take care not to pull out the entire plant, as this can disrupt the soil and lead to contamination.
- Check for Quality: Ensure the shoots are bright green and healthy. Discard any that appear yellow or wilted.
Storing and Using Sunflower Shoots
Storage
- Refrigeration: Place your harvested sunflower shoots in a damp paper towel inside a plastic bag. Store them in the vegetable crisper of your refrigerator to maintain freshness.
- Shelf Life: They usually last about 5-7 days when properly stored.

Culinary Uses
- Salads: Add them to mixed greens for added crunch and flavor.
- Sandwiches and Wraps: Use sunflower shoots as a nutritious layer in your sandwiches or wraps.
- Smoothies: Blend them into your smoothies for a nutrient boost.
- Garnishes: Use them as garnishes for soups and entrees to add a splash of color and nutrition.
Conclusion
Growing sunflower shoots is not only easy but also rewarding. They offer a nutritional punch that can enhance a variety of dishes. By following this step-by-step guide, you can cultivate your own harvest of healthy, delicious sunflower shoots in the comfort of your home. Whether you grow them for yourself or to share with family and friends, these little greens are sure to brighten up your meals. Happy growing!