Microgreens are tiny, edible plants that are harvested just after the first leaves have developed. They are packed with nutrients and flavor, making them an excellent addition to salads, sandwiches, and smoothies. Among various types of microgreens, broccoli microgreens are particularly popular due to their health benefits and simplicity of growing. This guide will take you through the necessary steps to grow broccoli microgreens at home, ensuring success even for beginners.
What Are Broccoli Microgreens?
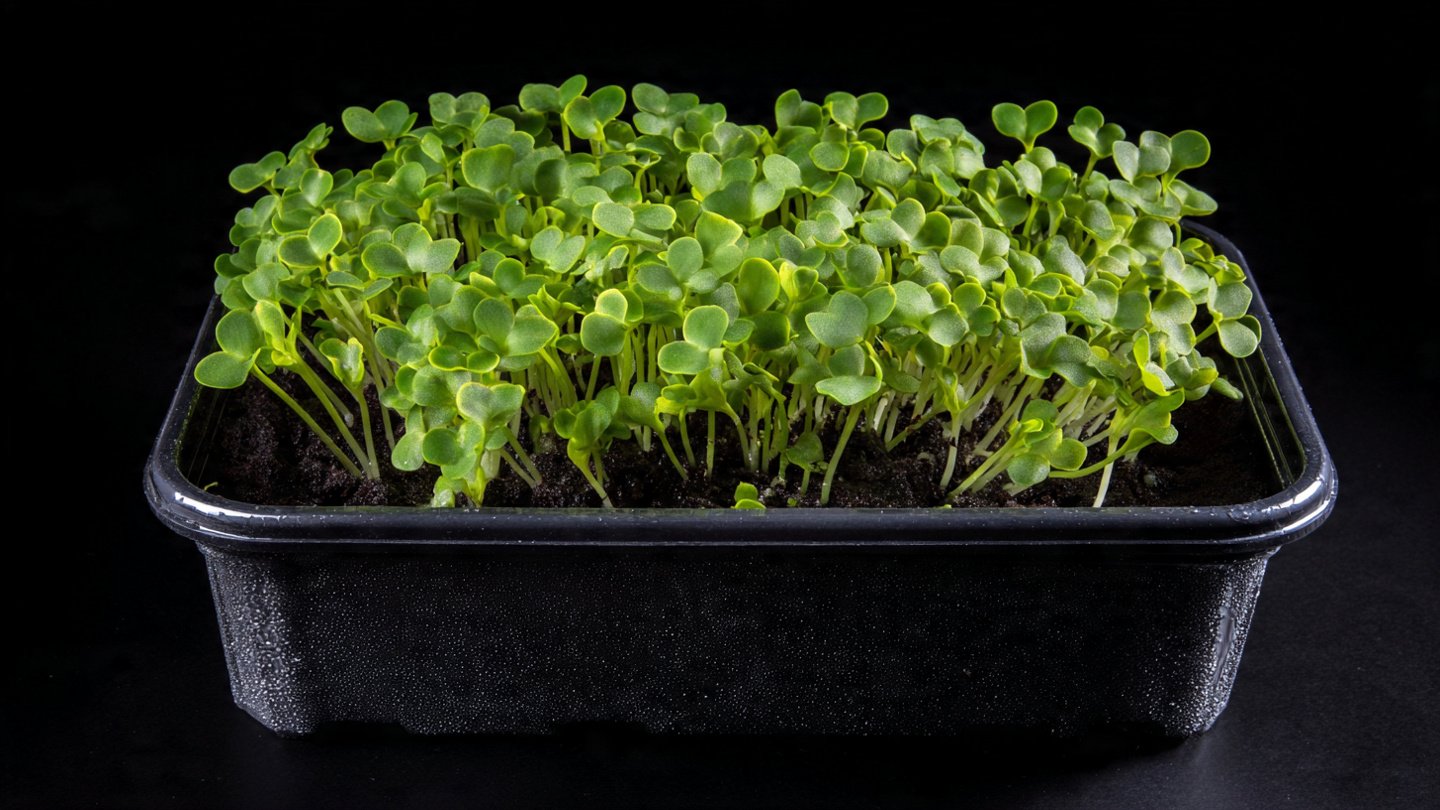
Broccoli microgreens are young seedlings of the broccoli plant (Brassica oleracea). They are harvested at just 7 to 14 days after germination. These microgreens have a mild, slightly peppery flavor and are rich in vitamins A, C, E, K, and various antioxidants. This nutrient density makes them a popular choice in health-conscious diets.
Latest Posts
- OnePlus Turbo 6V 5G Launched – for Gamers with 9000mAh Battery, 220MP Camera & Snapdragon 8s Gen 4
- Realme GT 8 Pro Officially Launched – 200MP Camera, 7,000mAh Battery and Snapdragon 8 Elite
- OPPO K13 Turbo 5G Launched – 7,000mAh Battery, 50MP Camera and High-Performance Chipset
- Realme 17 Pro 5G Unveiled – IP69K Certified, 200MP Camera and Massive 8600mAh Battery
- Vivo Premium Smartphone Launched – 200MP Camera, 90W Fast Charging and 16GB RAM
- POCO F8 Ultra Launched – Snapdragon Flagship Power, Bose Audio and Huge Battery
- POCO F8 Ultra Launched – Snapdragon Flagship Power, Bose Audio and Huge Battery
- OnePlus Nord 3 5G Launched – 120Hz AMOLED Display, 50MP Camera and 5,000mAh Battery
- OnePlus Nord CE4 Launched – Powerful Snapdragon 7 Gen 3, 50MP Camera and Long-Lasting Battery
- OnePlus Smartphone Revealed – Premium 5G Smartphone with 200MP Camera, 24GB RAM and 100W Fast Charging
Why Grow Broccoli Microgreens?
-
Nutritional Benefits: They contain higher concentrations of nutrients compared to mature broccoli.
-
Easy to Grow: They require minimal space and equipment.
-
Quick Harvest: Broccoli microgreens can be ready for harvest in as little as one week.
-
Flavorful Addition: They add a fresh, nutritious touch to various dishes.
-
Cost-effective: Growing your own microgreens can be much more affordable than buying them from the store.

Getting Started
Supplies You’ll Need
-
Tray: A shallow tray or container with drainage holes. This could be a seedling tray, a shallow plastic container, or even a repurposed takeout container.
-
Growing Medium: You can use potting soil, coconut coir, or a seed-starting mix. Make sure it is clean and free of chemicals.
-
Seeds: Purchase high-quality broccoli microgreen seeds from a reputable source. Ensure they are labeled for microgreen use.
-
Water: A spray bottle or watering can for easy watering without disturbing the seeds.
-
Light Source: A sunny windowsill or a grow light will work. Microgreens require about 12-16 hours of light daily for optimal growth.
-
Humidity Dome (Optional): A clear lid or plastic wrap can help maintain humidity while the seeds germinate.

Step-by-Step Instructions
Step 1: Prepare the Tray
Begin by rinsing your tray with hot, soapy water to ensure it’s clean. Place your chosen growing medium into the tray, filling it to about 1-2 inches deep. Smooth the surface with your hands or a flat tool to create an even layer.
Step 2: Sow the Seeds
Using your fingers or a seed spreader, evenly scatter the broccoli seeds over the surface of the growing medium. You can also sprinkle in more seeds than you think you’ll need, as extra seeds can be thinned out later.
Step 3: Water the Seeds
Spray the seeds gently with water until the soil is thoroughly moistened. Be cautious not to wash the seeds away. If you’re using a humidity dome, you can cover the tray at this point to maintain moisture.
Step 4: Provide Darkness for Germination
For the first 2-3 days, it’s best to keep the seeds in a dark space or covered with a cloth. This mimics soil conditions and encourages speedy germination. Keep the medium moist but not soggy.
Step 5: Light and Water
After the seeds germinate (typically 3-5 days), remove the cover and place the tray in a location where it can receive plenty of light. If using a grow light, position it 2-4 inches above the seedlings. Water lightly every day or every couple of days using a spray bottle to keep the soil moist.

Step 6: Monitor the Growth
Check your microgreens daily, ensuring they have sufficient light and moisture. In about 7-14 days, they will begin to grow their first true leaves (cotyledons). They should reach about 2-4 inches in height and be ready for harvest.
Step 7: Harvesting
Once the microgreens are at least 2 inches tall, it’s time to harvest. Use scissors to cut them just above the soil line. You can rinse them briefly in cool water and then lay them on a clean towel to dry.
Step 8: Storage
Broccoli microgreens can be stored in the refrigerator for a few days. Place them in a container lined with a damp paper towel, and close it tightly. This helps to maintain moisture while preventing excess water from causing spoilage.
Tips for Success
-
Choose Quality Seeds: Ensure you’re using seeds specifically intended for microgreens.
-
Control Temperature: Ideal temperatures for growing microgreens range from 60 to 75°F (15-24°C).
-
Avoid Overwatering: Overwatering can lead to mold, so always check that the growing medium has proper drainage.
-
Rotate Trays: If using natural light, rotate your trays occasionally to ensure even growth.
-
Experiment: Don’t hesitate to try different microgreens or adjust your environment as needed!

FAQs
1. How often should I water my broccoli microgreens?
Water them lightly daily or every couple of days, ensuring the growing medium remains moist but not soaked.
2. How much light do broccoli microgreens need?
Broccoli microgreens thrive on 12-16 hours of light per day. A south-facing window or a grow light works best.
3. Can I grow broccoli microgreens without soil?
Yes, you can grow them using hydroponic systems or soilless mediums like coconut coir or peat moss.

4. How long does it take to grow broccoli microgreens?
From seed to harvest, it typically takes about 7-14 days.
5. Are there any pests or diseases I need to worry about?
While pests are uncommon with microgreens, watch for mold and keep humidity levels in check. If you notice any signs of mold, reduce watering.
6. Can I reuse the growing medium?
It’s not advisable to reuse growing medium as it may harbor pathogens or nutrients that could affect subsequent growth.
7. Where should I store my harvested microgreens?
Store them in the refrigerator, ideally in a container with a damp paper towel, to keep them fresh for a few days.
Conclusion
Growing broccoli microgreens at home is a simple and rewarding experience, perfect for beginners. With just a few supplies and some basic knowledge, you can enjoy nutrient-packed greens fresh from your kitchen. Follow these steps, stay patient, and you’ll be on your way to mastering the art of growing microgreens! Enjoy your gardening journey and unleash the health benefits of these vibrant little greens in your daily diet.