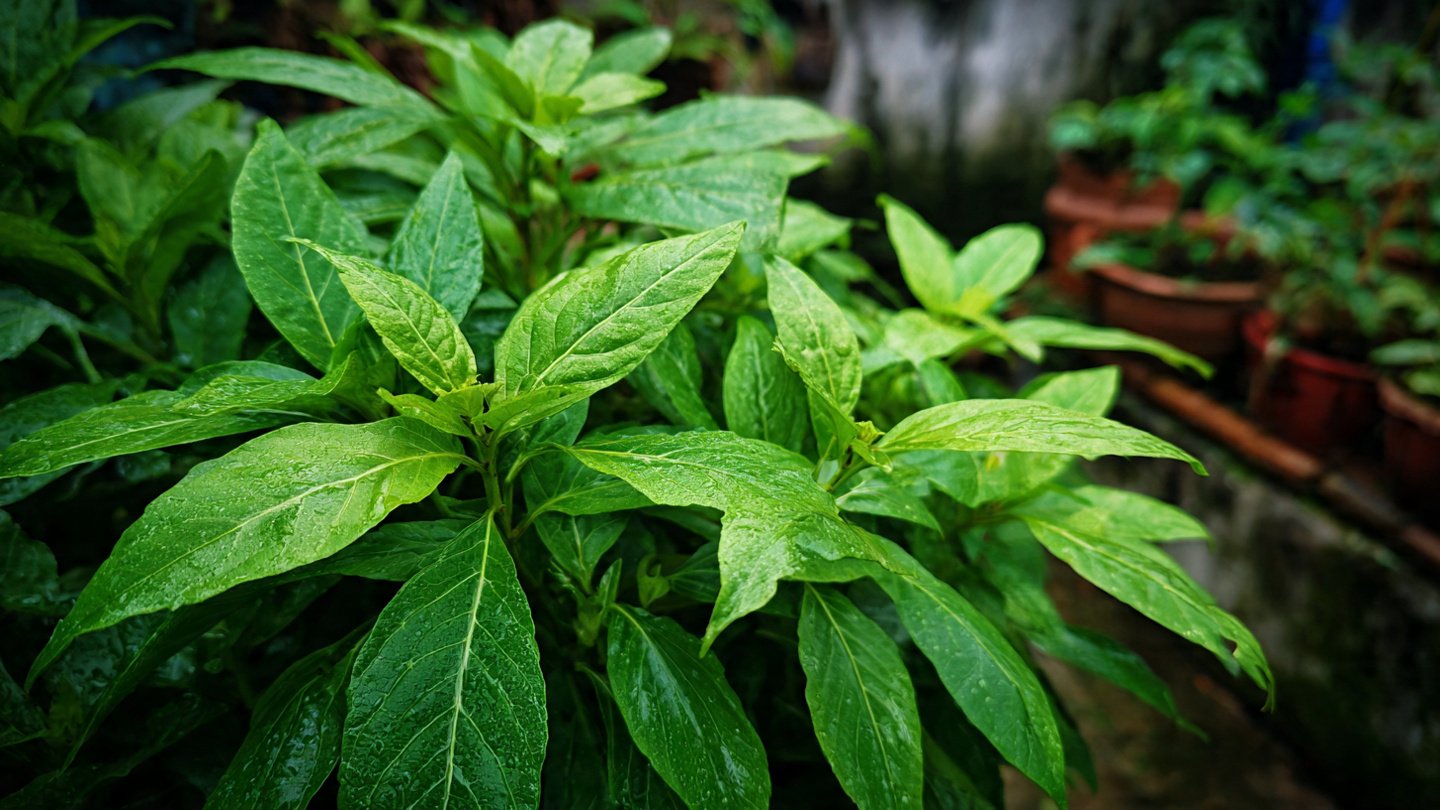
Gongura greens, also known as sorrel, is a nutrient-rich leafy vegetable famous in Indian cuisine, especially in the southern states. With its tangy flavor and vibrant green leaves, Gongura adds depth to various dishes, making it a sought-after ingredient for many home cooks. If you’re looking to grow your own Gongura greens, this ultimate guide will walk you through everything from seed selection to harvesting, along with some frequently asked questions.
Table of Contents
- OnePlus Turbo 6V 5G Launched – for Gamers with 9000mAh Battery, 220MP Camera & Snapdragon 8s Gen 4
- Realme GT 8 Pro Officially Launched – 200MP Camera, 7,000mAh Battery and Snapdragon 8 Elite
- OPPO K13 Turbo 5G Launched – 7,000mAh Battery, 50MP Camera and High-Performance Chipset
- Realme 17 Pro 5G Unveiled – IP69K Certified, 200MP Camera and Massive 8600mAh Battery
- Vivo Premium Smartphone Launched – 200MP Camera, 90W Fast Charging and 16GB RAM
- POCO F8 Ultra Launched – Snapdragon Flagship Power, Bose Audio and Huge Battery
- POCO F8 Ultra Launched – Snapdragon Flagship Power, Bose Audio and Huge Battery
- OnePlus Nord 3 5G Launched – 120Hz AMOLED Display, 50MP Camera and 5,000mAh Battery
- OnePlus Nord CE4 Launched – Powerful Snapdragon 7 Gen 3, 50MP Camera and Long-Lasting Battery
- OnePlus Smartphone Revealed – Premium 5G Smartphone with 200MP Camera, 24GB RAM and 100W Fast Charging
- Introduction to Gongura
- Understanding Gongura Varieties
- Choosing the Right Location
- Soil Requirements
- Planting Gongura Seeds
- Watering and Fertilizing
- Pest and Disease Management
- Harvesting Gongura Greens
- Storage Tips
- FAQs
Latest Posts
1. Introduction to Gongura
Gongura (Hibiscus sabdariffa) is not just a delicious leafy green; it is also known for its numerous health benefits. Rich in vitamins A, C, and K, as well as minerals like calcium and iron, Gongura is associated with various health benefits including improved digestion, better immunity, and reduced inflammation.
2. Understanding Gongura Varieties
There are primarily two types of Gongura:

- Red Gongura: Known for its reddish stalks and darker leaves, red Gongura has a slightly tangy flavor that is preferred in many traditional dishes.
- Green Gongura: This variety has lighter-colored stalks and leaves. It’s typically milder and is often used in salads or cooked dishes.
Selecting the right variety based on your taste preference and climate conditions is crucial for a successful harvest.
3. Choosing the Right Location
Gongura thrives in warm climates with plenty of sunlight. Here are some tips for choosing the perfect spot:
- Sunlight: Ensure your garden bed receives at least 6-8 hours of direct sunlight each day.
- Air Circulation: A well-ventilated area reduces the risk of fungal infections.
- Accessibility: Choose a location that makes it easy for you to manage the plants, especially when it comes time to harvest.
4. Soil Requirements
Gongura prefers well-drained, sandy soil rich in organic matter. Here’s how you can prepare the soil:
- pH Level: Aim for a soil pH between 6.0 and 7.0 for ideal growth.
- Organic Matter: Incorporate well-rotted compost or manure to enhance fertility.
- Drainage: If you have heavy clay soil, consider raised beds or adding perlite to improve drainage.

5. Planting Gongura Seeds
Once your soil is prepared, it’s time to plant. You can sow seeds directly into the garden bed or start them indoors.
Direct Sowing:
- When to Plant: In most regions, late spring is the best time to sow seeds after the last frost.
- Spacing: Sow seeds about 1 inch deep and space them 12-18 inches apart to allow for healthy growth.
Starting Indoors:
- Containers: Use seed trays or peat pots with drainage holes.
- Transfer: Once seedlings have at least two true leaves, they can be transferred to the garden.
6. Watering and Fertilizing
Proper care during the growing season is key to a fruitful harvest.
Watering:
- Frequency: Water Gongura regularly, especially during dry spells. The soil should remain consistently moist but not waterlogged.
- Technique: It’s best to water at the base of the plant, avoiding overhead watering to reduce the risk of fungal diseases.

Fertilizing:
- Initial Feeding: Use a balanced fertilizer when the plants are about 6–8 inches tall.
- Continual Feeding: Every four weeks, apply a liquid fertilizer to support ongoing growth.
7. Pest and Disease Management
Gongura is relatively resilient but can face some challenges. Here’s what to look out for:
Common Pests:
- Aphids: Small, green insects that can be managed using neem oil or insecticidal soap.
- Caterpillars: Look for loopers or cabbage worms. Hand-pick these pests or use a Bacillus thuringiensis (Bt) solution.
Diseases:
- Downy Mildew: A fungal infection that occurs in high humidity. Ensure proper spacing for airflow.
- Fusarium Wilt: Limit planting in affected areas and rotate crops every few years to manage soil pathogens.
8. Harvesting Gongura Greens

Gongura can be harvested multiple times throughout the growing season.
- When to Harvest: Start harvesting when the leaves are about 6-8 inches long.
- Method: Cut leaves at the base using clean scissors or shears, leaving some leaves so the plant can continue to grow.
9. Storage Tips
Proper storage ensures your Gongura remains fresh.
- Refrigerator: Store harvested Gongura in a sealed plastic bag in the vegetable drawer. It can last up to a week.
- Freezing: If you have excess greens, consider blanching them briefly in boiling water, then freezing them in airtight containers.
10. FAQs
Q1: Can Gongura be grown in pots?
- Yes, Gongura can be successfully grown in large pots or containers as long as they have adequate drainage.
Q2: How long does it take for Gongura to mature?
- Gongura typically takes about 60-90 days from planting to maturity, depending on growing conditions and the specific variety.

Q3: Is Gongura prone to any diseases?
- Gongura can be affected by fungal diseases and aphids. Practicing good garden hygiene and crop rotation can help prevent issues.
Q4: Can I grow Gongura in shaded areas?
- While Gongura prefers full sun, it can tolerate partial shade. However, this might result in less vigorous growth.
Q5: Does Gongura require a lot of maintenance?
- Gongura is relatively low maintenance, requiring regular watering, occasional fertilization, and pest management.
Conclusion
Growing Gongura greens in your home garden can be a rewarding endeavor, not only for the culinary benefits but also for its health advantages. With the right planning, care, and attention to detail, anyone can cultivate this flavorful green. Whether you enjoy it in traditional recipes or experiment in salads, Gongura is sure to enhance your meals. Happy gardening!