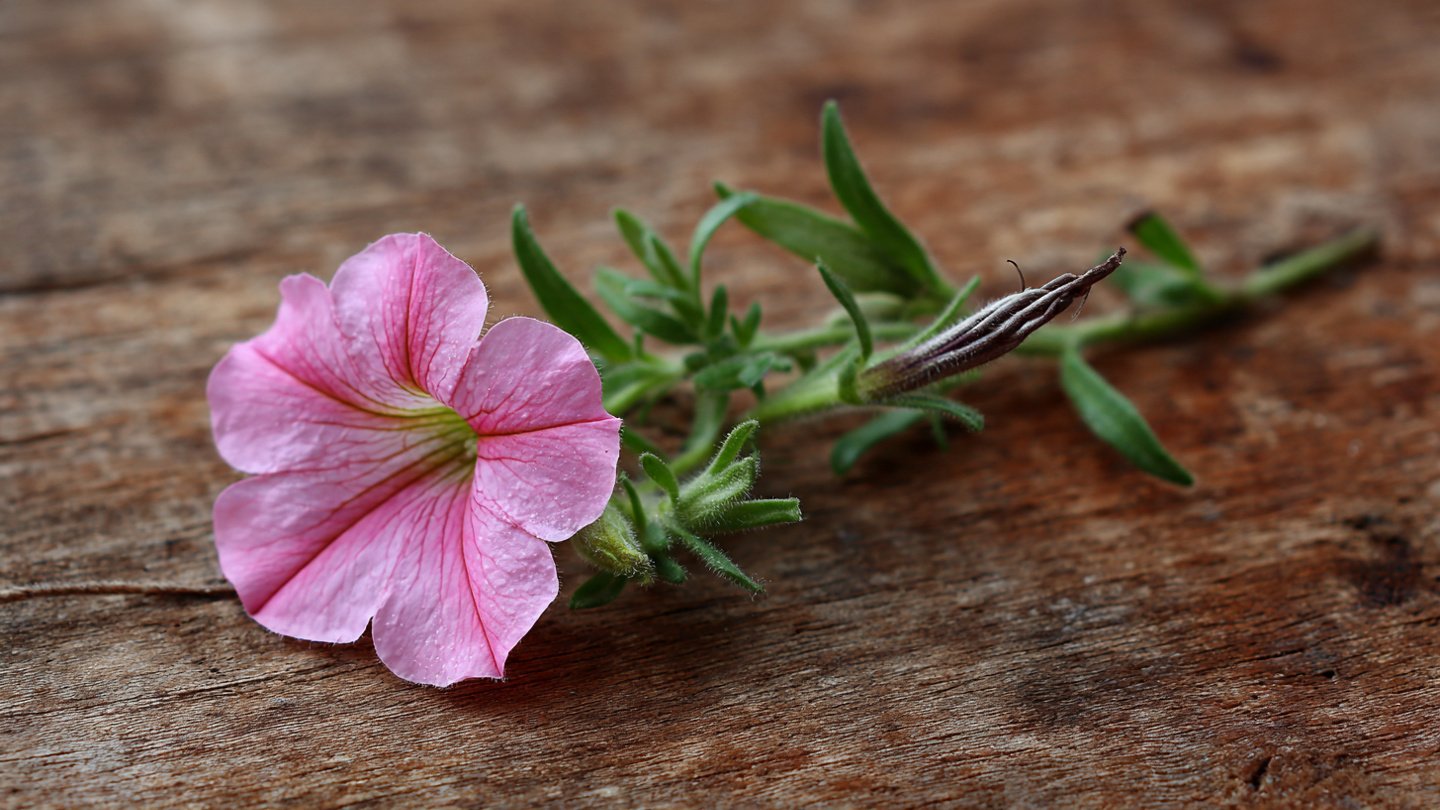
Petunias, known for their vibrant colors and delightful fragrance, are a popular choice among garden enthusiasts. These annual flowering plants are not only visually appealing but also relatively easy to cultivate. One of the most rewarding methods of growing petunias is from cuttings. This guide will provide you with simple, effective techniques for taking cuttings, rooting them, and nurturing them into beautiful blooming plants.
Understanding Petunias
Types of Petunias
Latest Posts
- OnePlus Turbo 6V 5G Launched – for Gamers with 9000mAh Battery, 220MP Camera & Snapdragon 8s Gen 4
- Realme GT 8 Pro Officially Launched – 200MP Camera, 7,000mAh Battery and Snapdragon 8 Elite
- OPPO K13 Turbo 5G Launched – 7,000mAh Battery, 50MP Camera and High-Performance Chipset
- Realme 17 Pro 5G Unveiled – IP69K Certified, 200MP Camera and Massive 8600mAh Battery
- Vivo Premium Smartphone Launched – 200MP Camera, 90W Fast Charging and 16GB RAM
- POCO F8 Ultra Launched – Snapdragon Flagship Power, Bose Audio and Huge Battery
- POCO F8 Ultra Launched – Snapdragon Flagship Power, Bose Audio and Huge Battery
- OnePlus Nord 3 5G Launched – 120Hz AMOLED Display, 50MP Camera and 5,000mAh Battery
- OnePlus Nord CE4 Launched – Powerful Snapdragon 7 Gen 3, 50MP Camera and Long-Lasting Battery
- OnePlus Smartphone Revealed – Premium 5G Smartphone with 200MP Camera, 24GB RAM and 100W Fast Charging
Petunias are typically categorized into several types, including:
- Grandiflora: Large flowers, ideal for borders and containers.
- Multiflora: Smaller flowers but more prolific and weather-resistant.
- Spreading: Ideal for hanging baskets and ground cover.
- Wave: A unique type known for its cascading growth habit.
Characteristics
Petunias come in a variety of colors, patterns, and growth habits. They thrive in full sunlight, well-drained soil, and need regular watering. By understanding these fundamental aspects, you can ensure a successful growing experience.
Why Grow Petunias from Cuttings?
Growing petunias from cuttings is beneficial for several reasons:

- Cost-Effective: Instead of purchasing new plants each year, you can propagate your existing ones.
- Cloning: You can ensure consistency in flower color and size by taking cuttings from your favorite plant.
- Faster Growth: Cuttings can root and establish faster than seeds germinate.
Materials Needed
Before you start propagating petunias from cuttings, gather the following materials:
- Healthy petunia parent plant
- Sharp, clean scissors or pruning shears
- Small pots or seed trays
- Seed starting mix or potting soil
- Rooting hormone (optional but recommended)
- Plastic bag or humidity dome
- Water
Step-by-Step Guide to Growing Petunias from Cuttings
Step 1: Selecting the Parent Plant
Choose a healthy, mature petunia plant. Look for signs of vigor, such as healthy leaves and no signs of disease or pests. The ideal time to take cuttings is during the growing season, preferably in the spring or summer.

Step 2: Taking Cuttings
- Cutting: Select a stem that is approximately 4-6 inches long. Avoid stems with flowers or buds, as you want the cutting to focus its energy on rooting rather than blooming.
- Make the Cut: Use sharp scissors to cut below a node (the point where leaves attach to the stem). This node is vital for rooting.
- Remove Lower Leaves: Trim the lower leaves from the cutting, leaving only a few at the top. This reduces moisture loss and focuses energy on root development.
Step 3: Preparing the Cuttings
- Rooting Hormone: While this step is optional, dipping the cut end of the cutting into rooting hormone can encourage faster root growth. The hormone stimulates root cell development.
- Planting: Fill your pots or trays with seed-starting mix. Stick your cutting into the soil about an inch deep. Ensure the node is buried, as this is where roots will develop.
Step 4: Watering
Gently water the cuttings after planting to settle the soil around them. Be cautious not to overwater, as soggy soil can lead to rot. The soil should be moist but not waterlogged.
Step 5: Providing Humidity
To encourage rooting, create a humid environment. Cover the pots or trays with a plastic bag or use a humidity dome. This helps retain moisture. Ensure the cover does not touch the cuttings; use sticks or stakes to provide space.
Step 6: Placement
Place your cuttings in a location with bright, indirect sunlight. Direct sunlight can be too harsh for young cuttings. Maintain a warm environment, ideally between 65°F and 75°F (18°C to 24°C).

Step 7: Monitoring and Maintenance
- Watering: Check the moisture levels daily, and water if necessary. Remove the humidity cover periodically for fresh air.
- Root Development: After 2-3 weeks, check for roots by gently tugging on the cuttings. If there is resistance, roots are forming.
- Transplanting: Once the cuttings have developed roots and are established (after 4-6 weeks), they can be transplanted into larger pots or directly into the garden.
Step 8: Caring for Young Plants
- Fertilizing: After transplanting, use a balanced, diluted fertilizer every couple of weeks to promote healthy growth.
- Sunlight: Gradually acclimate the new plants to full sunlight over a week, to avoid shock.
- Watering: Water regularly, but let the soil dry slightly between waterings to prevent root rot.
Tips for Successful Petunia Cuttings
- Timing: The best time to take cuttings is in the morning when the plant is well-hydrated.
- Sterilization: Always sterilize your tools before making cuts to prevent disease transmission.
- Regular Monitoring: Keep an eye on your cuttings for any signs of disease (yellowing, wilting) or pests (aphids, spider mites).
Common Problems and Solutions
1. Wilting Cuttings

Problem: Cuttings may wilt due to excessive heat or insufficient humidity.
Solution: Check humidity levels and place in a cooler area away from direct sunlight.
2. Root Rot
Problem: Overwatering can lead to root rot.
Solution: Ensure adequate drainage and allow the soil to dry slightly between waterings.
3. Disease Issues
Problem: Fungal infections can present themselves as mold or discoloration.
Solution: Use sterilized soil and tools, and avoid overcrowding.
FAQs
Q1: Can I grow petunias indoors from cuttings?
Yes! Petunias can be grown indoors as long as they receive plenty of light. Use grow lights if necessary.

Q2: How long does it take for petunia cuttings to root?
Generally, cuttings will take about 2-6 weeks to root, depending on environmental conditions like warmth and humidity.
Q3: Can I take cuttings from any type of petunia?
Yes, you can take cuttings from any type of petunia. However, certain types may perform better under specific conditions.
Q4: What should I do if my cuttings mold?
If mold appears, it’s essential to remove the affected cuttings immediately. Improve air circulation and reduce humidity to prevent further issues.
Q5: Is it necessary to use rooting hormone?
While not mandatory, using rooting hormone can significantly increase the success rate and speed up the rooting process.
Q6: Can I propagate petunias from seeds instead?
Yes, petunias can be grown from seeds, but growing from cuttings is typically faster and ensures you maintain the characteristics of the parent plant.
Conclusion
Growing petunias from cuttings is a rewarding and economical way to expand your floral garden. With a little patience and care, you can propagate these beautiful plants successfully. Whether you’re looking to fill your garden with vibrant colors or create stunning containers, following the techniques outlined in this guide will lead to flourishing petunias that bring joy and beauty to your outdoor spaces. Happy gardening!