Growing navel oranges in your home garden can be a rewarding experience, providing you with fresh, juicy fruit right at your doorstep. Navel oranges are renowned for their sweetness, lack of seeds, and easy-to-peel skin, making them a popular choice among gardeners. This guide will take you through the essential steps to successfully cultivate navel oranges, from selecting the right variety to maintaining healthy trees. We’ll also address some frequently asked questions to help you on your journey.
Understanding Navel Oranges
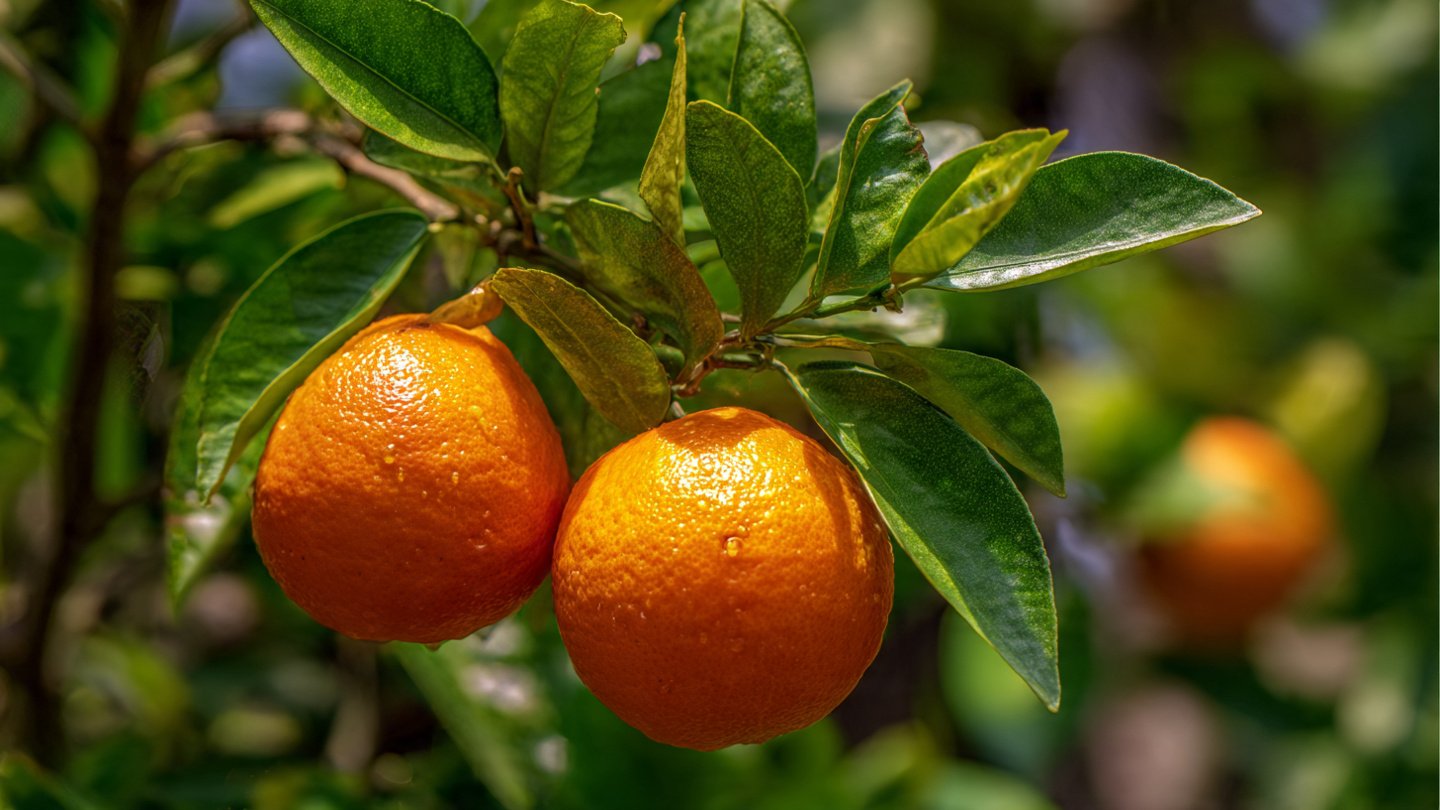
Before diving into the specifics of growing navel oranges, it’s beneficial to understand what makes them unique. Navel oranges are a seedless variety that originated from a mutation of a Brazilian orange tree in the early 19th century. They are known for their characteristic “navel” formation at the blossom end, which is actually a secondary fruit that doesn’t fully develop.
Latest Posts
- OnePlus Turbo 6V 5G Launched – for Gamers with 9000mAh Battery, 220MP Camera & Snapdragon 8s Gen 4
- Realme GT 8 Pro Officially Launched – 200MP Camera, 7,000mAh Battery and Snapdragon 8 Elite
- OPPO K13 Turbo 5G Launched – 7,000mAh Battery, 50MP Camera and High-Performance Chipset
- Realme 17 Pro 5G Unveiled – IP69K Certified, 200MP Camera and Massive 8600mAh Battery
- Vivo Premium Smartphone Launched – 200MP Camera, 90W Fast Charging and 16GB RAM
- POCO F8 Ultra Launched – Snapdragon Flagship Power, Bose Audio and Huge Battery
- POCO F8 Ultra Launched – Snapdragon Flagship Power, Bose Audio and Huge Battery
- OnePlus Nord 3 5G Launched – 120Hz AMOLED Display, 50MP Camera and 5,000mAh Battery
- OnePlus Nord CE4 Launched – Powerful Snapdragon 7 Gen 3, 50MP Camera and Long-Lasting Battery
- OnePlus Smartphone Revealed – Premium 5G Smartphone with 200MP Camera, 24GB RAM and 100W Fast Charging
1. Selecting the Right Variety
Choosing the right navel orange variety is crucial for successful cultivation. While most navel oranges will thrive in similar conditions, specific varieties may offer different characteristics in terms of flavor, size, and cold hardiness. Consider selecting one based on your local climate and personal preference. Some popular varieties include:
- California Navel: Known for its rich flavor and juicy texture. Best suited for warmer climates.
- Washington Navel: A staple in many home gardens; known for its excellent quality and adaptability.
- Cara Cara: A type of navel orange that is pink on the inside, with a sweet and slightly tart flavor.
2. Planning Your Garden Space
Navel oranges require ample sunlight and space to flourish. Here are some tips for planning your garden:

- Location: Choose a sunny spot that receives at least 6-8 hours of sunlight each day. Good air circulation is also essential for preventing disease.
- Soil: Well-draining soil is crucial for the health of the tree. If your soil is heavy clay, consider creating a raised bed or amending the soil with organic matter.
3. Preparing the Soil
Proper soil preparation will set the foundation for healthy navel orange trees. Here’s how to prepare:
- Soil Testing: Conduct a soil test to check pH levels and nutrient content. Navel oranges prefer a pH between 6 and 7.
- Amendments: Based on your soil test results, amend the soil with compost, peat moss, or sulfur to adjust the pH. Incorporate these materials well into the top 12 inches of soil.
4. Planting Your Navel Orange Tree
Once your soil is prepared, it’s time to plant. Follow these steps:
- Timing: The best time to plant navel oranges is in spring after the last frost. In warmer climates, you can plant in fall.
- Spacing: Dig a hole that is twice the width of the root ball and slightly shallower. Space trees at least 15-20 feet apart to allow for growth.
- Planting Depth: Place the tree in the center of the hole so that the top of the root ball is level with the surrounding soil. Backfill gently and water thoroughly.

5. Watering and Fertilizing
Navel oranges require consistent watering, especially during their establishment phase. Here’s how to manage irrigation and feeding:
- Watering: Water deeply once a week. During hot months, you may need to increase frequency. Use a soaker hose or drip irrigation to maintain moisture without waterlogging the roots.
- Fertilizing: Use a balanced fertilizer formulated for citrus trees. Apply fertilizer three times a year: in spring, summer, and early fall. Follow package instructions for specific quantities.
6. Pruning Your Tree
Pruning is essential for maintaining the shape and health of your navel orange tree. Here’s what to keep in mind:
- Timing: Prune during the dormant season (late winter or early spring) before new growth begins.
- Technique: Remove dead or diseased branches, as well as any that cross or rub against each other. Aim for an open center to promote air circulation.
7. Pest and Disease Management
Being proactive about pest and disease management will help ensure a healthy crop. Here are some common issues and solutions:
- Pests: Common pests include aphids, scale, and spider mites. Introduce beneficial insects, such as ladybugs, or use insecticidal soap if infestations occur.
- Diseases: Fungal diseases like citrus canker can affect navel oranges. Good air circulation, proper watering practices, and removing infected wood can minimize the risk.

8. Harvesting Navel Oranges
Harvesting is the most rewarding part of growing navel oranges. Follow these tips for successful harvesting:
- Timing: Navel oranges typically ripen between late fall and early spring, depending on the variety and location.
- How to Harvest: Gently twist the fruit to detach it from the tree. Use pruning shears for larger fruits if needed.
- Storing: Store harvested oranges in a cool, dry place. They can last several weeks when kept at room temperature but will last longer in the refrigerator.
9. Overcoming Challenges
Growing navel oranges can present challenges, but many can be overcome with preparation:
- Frost Protection: In cooler climates, you may need to protect your trees from frost. Cover young trees with frost cloth or bring potted trees indoors during cold snaps.
- Nutrition Deficiencies: Keep an eye out for signs of nutrient deficiencies, such as yellowing leaves or poor fruit production. Adjust your fertilization accordingly.
10. Enjoying Your Harvest

Your hard work will pay off when you start enjoying your navel oranges! Here are some delicious ways to use them:
- Fresh Eating: Enjoy them as a snack, in salads, or as a part of a cheese board.
- Juicing: Freshly-squeezed orange juice is a refreshing way to start the day.
- Baking: Use the zest or juice in cakes, muffins, or marinades.
FAQs
1. How long does it take for a navel orange tree to produce fruit?
Typically, a navel orange tree will start producing fruit within 3 to 4 years after planting.
2. Can navel orange trees grow in pots?
Yes! Dwarf varieties of navel oranges can thrive in pots. Make sure to provide adequate drainage and water regularly.
3. Do navel oranges require a pollinator?
No, navel oranges are self-pollinating, meaning one tree can produce fruit without the need for another.

4. What is the best time of year to fertilize navel oranges?
Fertilize navel oranges in early spring, late spring, and early fall for optimal growth.
5. Are navel oranges frost-sensitive?
Yes, young navel orange trees are susceptible to frost. It’s essential to protect them during cold weather.
6. Can I grow navel oranges indoors?
Yes, they can be grown indoors in pots, but make sure they receive plenty of sunlight (at least 6–8 hours per day).
7. How often should I water my navel orange tree?
Water deeply about once a week, but increase the frequency during hot, dry spells.
Conclusion
Growing navel oranges in your home garden is not just a delightful project; it’s an opportunity to cultivate a versatile fruit that can be enjoyed in many forms. With proper planning, care, and attention to detail, your navel orange tree can thrive and produce fruit for years to come. Follow these simple steps, be patient, and soon you’ll be enjoying the fruits of your labor straight from your own garden!
Leave a Reply