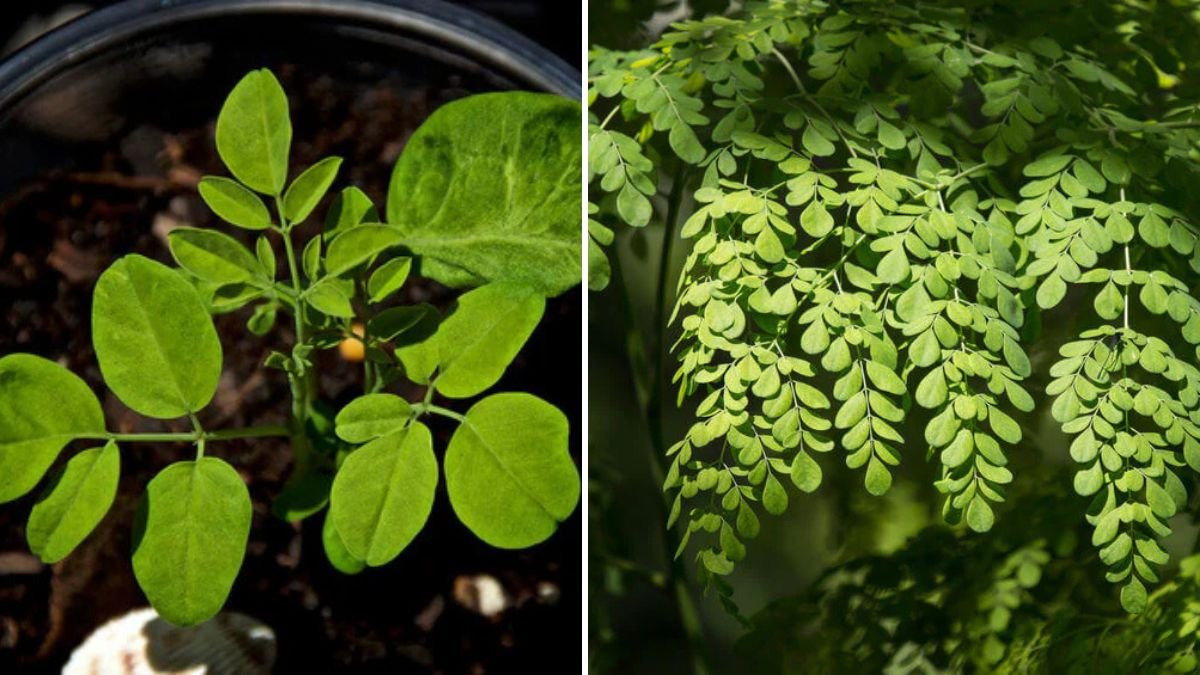
Drumstick leaves, known for their nutritional benefits and culinary uses, come from the Moringa tree. This fast-growing tree is native to India and is increasingly popular worldwide for its health benefits and versatility in cooking. For beginners looking to cultivate drumstick leaves at home, this guide offers simple, actionable steps.
Understanding the Moringa Tree
Before diving into cultivation, it’s important to understand what a Moringa tree is:
Latest Posts
- OnePlus Turbo 6V 5G Launched – for Gamers with 9000mAh Battery, 220MP Camera & Snapdragon 8s Gen 4
- Realme GT 8 Pro Officially Launched – 200MP Camera, 7,000mAh Battery and Snapdragon 8 Elite
- OPPO K13 Turbo 5G Launched – 7,000mAh Battery, 50MP Camera and High-Performance Chipset
- Realme 17 Pro 5G Unveiled – IP69K Certified, 200MP Camera and Massive 8600mAh Battery
- Vivo Premium Smartphone Launched – 200MP Camera, 90W Fast Charging and 16GB RAM
- POCO F8 Ultra Launched – Snapdragon Flagship Power, Bose Audio and Huge Battery
- POCO F8 Ultra Launched – Snapdragon Flagship Power, Bose Audio and Huge Battery
- OnePlus Nord 3 5G Launched – 120Hz AMOLED Display, 50MP Camera and 5,000mAh Battery
- OnePlus Nord CE4 Launched – Powerful Snapdragon 7 Gen 3, 50MP Camera and Long-Lasting Battery
- OnePlus Smartphone Revealed – Premium 5G Smartphone with 200MP Camera, 24GB RAM and 100W Fast Charging
- Scientific Name: Moringa oleifera
- Common Names: Drumstick tree, Miracle tree
- Nutritional Benefits: Rich in vitamins (A, C, and E), minerals (calcium, potassium, and iron), and antioxidants.
Growing Moringa not only benefits your health but adds a unique green touch to your home garden.
Step-by-Step Guide to Growing Drumstick Leaves
Step 1: Choose the Right Location
Moringa trees thrive in warm climates and require full sunlight. Here’s what you need to consider:

- Sunlight: Ensure that the planting area receives at least 6 hours of direct sunlight.
- Space: Moringa trees can grow quite tall (up to 12-15 feet), so leave enough space for growth.
Step 2: Selecting the Soil
Moringa prefers well-draining soil. Here’s how to prepare:
- Soil Type: Loamy or sandy soil works best. Avoid heavy clay soils as they retain too much moisture.
- pH Level: The ideal pH level is between 6.0 to 7.0. You can test your soil with a pH kit available at gardening stores.
- Preparation: Mix compost with the native soil to improve fertility and drainage.
Step 3: Planting the Seeds
Moringa can be propagated from seeds or cuttings. For beginners, seed propagation is easier:
- Seed Preparation: Soak the seeds in water for about 24 hours before planting.
- Planting:
- Dig holes about 1 inch deep and 3 feet apart for robust growth.
- Place 1-2 seeds per hole and cover lightly with soil.
- Watering: Water the seeds immediately after planting. Keep the soil moist but not waterlogged.

Step 4: Watering and Fertilization
Watering and feeding are critical to the healthy growth of Moringa:
- Watering: Water the plants regularly during dry spells. Ensure good drainage to prevent root rot.
- Fertilization: Use organic fertilizers like compost every 4-6 weeks. Avoid chemical fertilizers that can damage delicate roots.
Step 5: Pruning
Pruning helps manage the size of the tree and encourages bushier growth:
- Timing: Begin pruning when the tree is around 3 feet tall.
- Technique: Cut back the top of the tree to stimulate lateral growth. This also helps in leaf production.

Step 6: Pest and Disease Management
Moringa trees are relatively pest-resistant, but occasional issues might arise:
- Common Pests: Aphids and caterpillars may infest your Moringa. Use neem oil or insecticidal soap to handle infestations.
- Preventive Measures: Regularly inspect your plants and maintain proper hygiene in your garden.
Step 7: Harvesting Leaves
Once your tree has grown, you can begin to harvest leaves:
- When to Harvest: Generally, the leaves can be harvested about 60-90 days after planting.
- How to Harvest: Use scissors to cut the leaves from the stems, leaving enough leaves for the tree to continue growing. Regular harvesting encourages more leaf production.
Step 8: Cooking and Using Drumstick Leaves

Drumstick leaves are versatile and can be used in various dishes:
- Cooking: Sauté, add to soups, or use in salads.
- Nutritional Uses: Moringa leaves can be dried and made into powder, which can be added to smoothies or other recipes.
Frequently Asked Questions (FAQs)
1. Can I grow Moringa indoors?
Yes, Moringa can be grown indoors as long as you provide adequate sunlight (at least 6 hours a day) and well-draining soil.
2. How often should I water Moringa plants?
Water the plants regularly, especially during dry periods. The key is to keep the soil moist, but not soggy.
3. Do Moringa trees require a lot of space?
Moringa trees grow tall and have a wide canopy. Ideally, plant them at least 3 feet apart to allow for full growth.

4. Are there any specific pests that affect Moringa trees?
Moringa trees are generally resistant to pests, but aphids, caterpillars, and spider mites may occasionally appear. Use organic methods for control.
5. How can I store harvested Moringa leaves?
Fresh Moringa leaves can be stored in a sealed container in the refrigerator for about a week. Dried leaves can be stored in an airtight container for longer shelf life.
6. Is it necessary to fertilize Moringa plants regularly?
While Moringa is relatively low-maintenance, occasional fertilization with organic compost can promote better growth and a higher yield of leaves.
7. Can I grow Moringa from cuttings instead of seeds?
Yes, Moringa can also be propagated through cuttings. Choose healthy, semi-hardwood cuttings about 1-3 feet long and plant them in well-drained soil.
Conclusion
Growing drumstick leaves at home is a rewarding endeavor that enriches your diet with essential nutrients and adds greenery to your space. With the right care, attention, and a few simple steps, even beginners can successfully grow Moringa trees. Embark on this journey and enjoy the myriad of benefits that come with it!
Leave a Reply