Microgreens have become a popular choice for both home gardeners and chefs due to their vibrant flavors, nutritional density, and ease of cultivation. These tiny greens, harvested just a week or two after germination, are rich in vitamins, minerals, and antioxidants. If you’re looking to successfully grow microgreens in a sunny spot, this comprehensive guide will provide you with all the essential tips and insights needed to cultivate your green thumb to its fullest potential.
Understanding Microgreens
Microgreens are the young seedlings of edible vegetables and herbs. They are harvested at the cotyledon stage when they are just a few inches tall. Some common microgreens include arugula, radish, beet greens, basil, and cilantro. They add a burst of flavor to dishes and are packed with more nutrients than their mature counterparts.
Latest Posts
- OnePlus Turbo 6V 5G Launched – for Gamers with 9000mAh Battery, 220MP Camera & Snapdragon 8s Gen 4
- Realme GT 8 Pro Officially Launched – 200MP Camera, 7,000mAh Battery and Snapdragon 8 Elite
- OPPO K13 Turbo 5G Launched – 7,000mAh Battery, 50MP Camera and High-Performance Chipset
- Realme 17 Pro 5G Unveiled – IP69K Certified, 200MP Camera and Massive 8600mAh Battery
- Vivo Premium Smartphone Launched – 200MP Camera, 90W Fast Charging and 16GB RAM
- POCO F8 Ultra Launched – Snapdragon Flagship Power, Bose Audio and Huge Battery
- POCO F8 Ultra Launched – Snapdragon Flagship Power, Bose Audio and Huge Battery
- OnePlus Nord 3 5G Launched – 120Hz AMOLED Display, 50MP Camera and 5,000mAh Battery
- OnePlus Nord CE4 Launched – Powerful Snapdragon 7 Gen 3, 50MP Camera and Long-Lasting Battery
- OnePlus Smartphone Revealed – Premium 5G Smartphone with 200MP Camera, 24GB RAM and 100W Fast Charging
Benefits of Growing Microgreens
-
Nutritional Value: Microgreens can contain up to 40 times the nutrients of mature plants.
-
Space Efficiency: Microgreens require minimal space, making them ideal for small apartments or urban settings.
-
Quick Turnaround: Most microgreens can be harvested within 7 to 21 days, allowing for rapid crop turnover.
-
Flavor Enhancement: The concentrated flavors can elevate the taste of salads, sandwiches, and other dishes.
-
Year-Round Growth: With the right setup, you can grow microgreens indoors or outdoors all year long.
Choosing the Right Spot
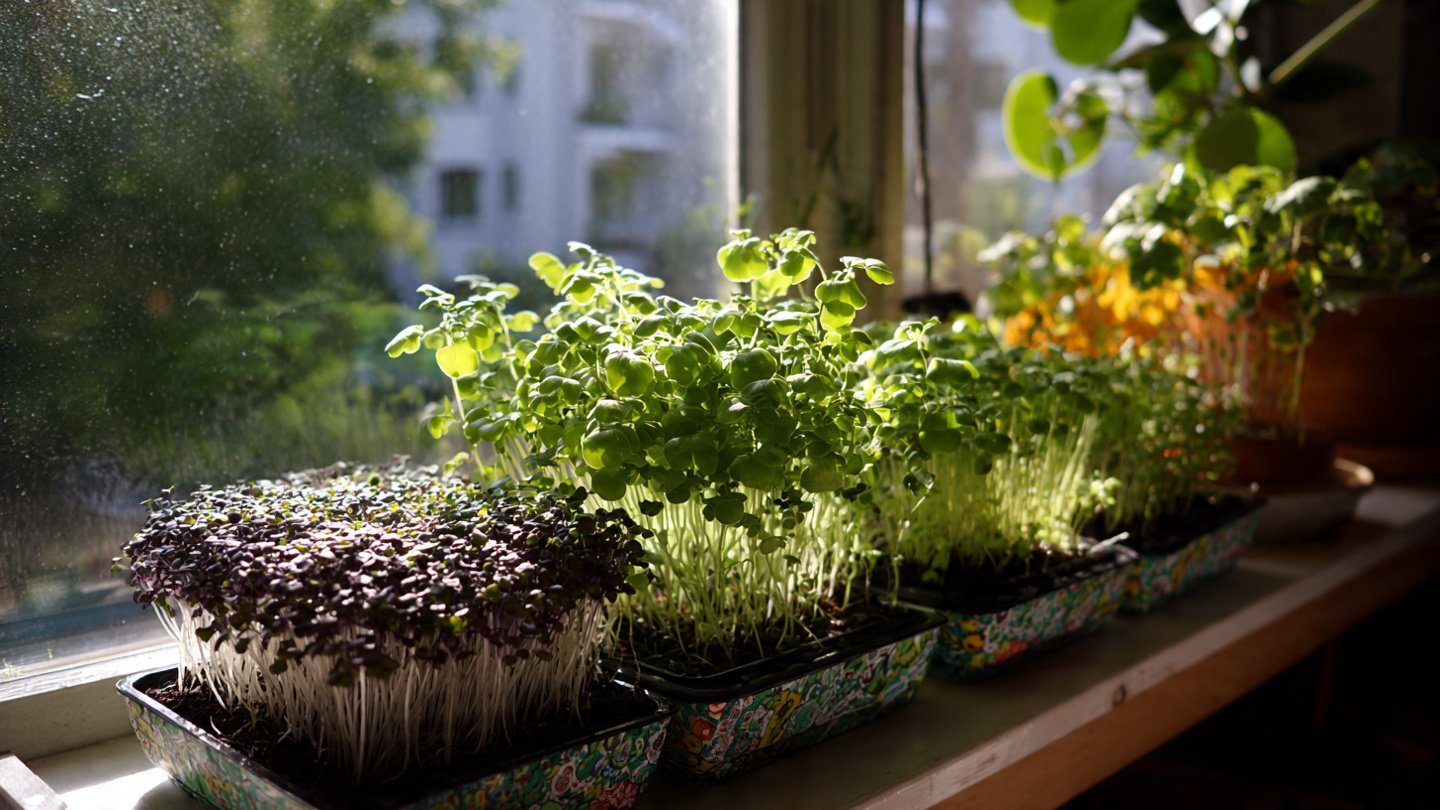
To cultivate microgreens successfully, a sunny location is crucial. Look for a spot that:

- Receives at least 4-6 hours of direct sunlight daily (south-facing windows are ideal).
- Has a consistent temperature (between 60-75°F is optimal).
- Offers a draft-free environment, as extreme temperature fluctuations can hinder growth.
Understanding Light Requirements
While microgreens can tolerate some shade, they thrive with ample sunlight. The sunlight will support photosynthesis, leading to lush and vigorous growth. In environments with limited natural light, consider supplementing with grow lights.
Selecting Seeds
Not all seeds are suitable for microgreens. Here are some ideal options for beginners:
- Radish: Fast-growing and peppery.
- Sunflower: Nutty flavor and crunchy texture.
- Peas: Sweet and tender.
- Basil: Fragrant and aromatic.
- Mustard: Spicy and flavorful.
Sourcing Quality Seeds
Purchase seeds specifically labeled for microgreen production, as these seeds are harvested to ensure optimal germination rates. Avoid using seeds treated with chemicals or pesticides.

Preparing Containers and Soil
Selecting Containers
Microgreens can be grown in various containers—seed trays, pots, or even repurposed containers such as clamshells or shallow plastic bins. Ensure that:
- The container has drainage holes to prevent waterlogging.
- It is deep enough to accommodate root growth (1-2 inches is typically sufficient).
Choosing the Right Soil
Use a high-quality, organic potting mix designed for seed starting. A soil blend that is light and well-aerated encourages healthy root development. Avoid garden soil, which can be too dense and may harbor pests or diseases.
Sowing the Seeds
-
Moistening the Soil: Start by adding water to the soil until it’s evenly moist but not soggy.
-
Seed Distribution: Scatter the seeds evenly over the surface, ensuring adequate spacing to prevent overcrowding. A good rule of thumb is to cover the soil with a thin layer of seeds that are roughly one to two times the depth of the seeds themselves.
-
Pressing Down: Lightly press the seeds into the soil to ensure good contact, which promotes germination.
-
Covering: Some seeds benefit from being lightly covered with soil, while others do better without a cover. Follow the seed package instructions for depth.

Watering Techniques
Proper watering is essential for microgreens:
-
Initial Watering: After sowing, use a spray bottle to mist the surface to avoid displacing the seeds.
-
Daily Monitoring: Check the moisture level daily. The soil should always be kept moist but not overly saturated.
-
Watering from Below: Consider placing your containers in a shallow tray of water, allowing the soil to absorb the moisture from the bottom.
Managing Light and Temperature
Providing Adequate Light
If growing indoors, position your microgreens near a sunlit window. If the sunlight is limited:
- Use Grow Lights: LED grow lights can be positioned about 12 inches away from the plants. Ensure they are on for about 12-16 hours per day.
Maintaining Temperature
Microgreens generally prefer mild conditions. If your growing area is too hot or cold, consider using fans for ventilation or heat mats for warmth during cooler months.
Monitoring Growth and Development

Keep an eye on your microgreens as they grow. They should germinate within 3-7 days, depending on the type:
-
Thinning: If seedlings are too crowded, thin them out to ensure adequate space for growth.
-
Pest Control: Look for pests such as aphids and spider mites. Use organic solutions like neem oil, or rinse them off with a gentle spray of water.
Harvesting Your Microgreens
Once your microgreens reach 1-3 inches in height and have developed their first true leaves, it’s time to harvest:
-
Using Scissors: Harvest by cutting the greens just above the soil line, using a clean pair of scissors to prevent contamination.
-
Timing: Many microgreens are best harvested at about 10-14 days; however, flavor and texture can vary by type.
-
Post-Harvest Care: Rinse the microgreens gently in cold water before using them in your culinary creations.
Storing Microgreens
To keep your harvested microgreens fresh:

-
Refrigeration: Place them in a damp paper towel and store them in a breathable container, like a produce bag, in the fridge.
-
Using Quickly: For the best flavor and freshness, use the microgreens within a week of harvesting.
Enhancing Your Growing Experience
Experimentation
Once you feel comfortable with a few varieties, experiment with different types of seeds and growing conditions. Consider mixing flavors for unique greens that excite your palate.
Incorporate Fertilization
For more experienced growers, consider a diluted liquid fertilizer for enhancing growth. Apply it after the seedlings have developed their first true leaves.
Conclusion
Growing microgreens in a sunny spot is not only rewarding but can also enhance your culinary experience, offering fresh ingredients that are easy to cultivate. With proper preparation, care, and attention to light and temperature, you can achieve a bountiful harvest of these nutrient-packed greens.
So, roll up your sleeves and get started! Whether you’re adding them to salads, sandwiches, or smoothies, the journey of growing your microgreens will surely be a delightful one.
Leave a Reply