Growing your own celery can be a rewarding endeavor, providing you with a constant supply of fresh, crunchy stalks that can enhance your meals and serve as refreshing snacks on their own. Not only does growing celery at home allow you to enjoy the unmatched taste of fresh produce, but it also offers health benefits that processed snacks simply can’t match. In this article, we’ll explore tips and techniques to help you successfully grow celery, ensuring that you can enjoy this nutritious snack all year round.
Understanding Celery
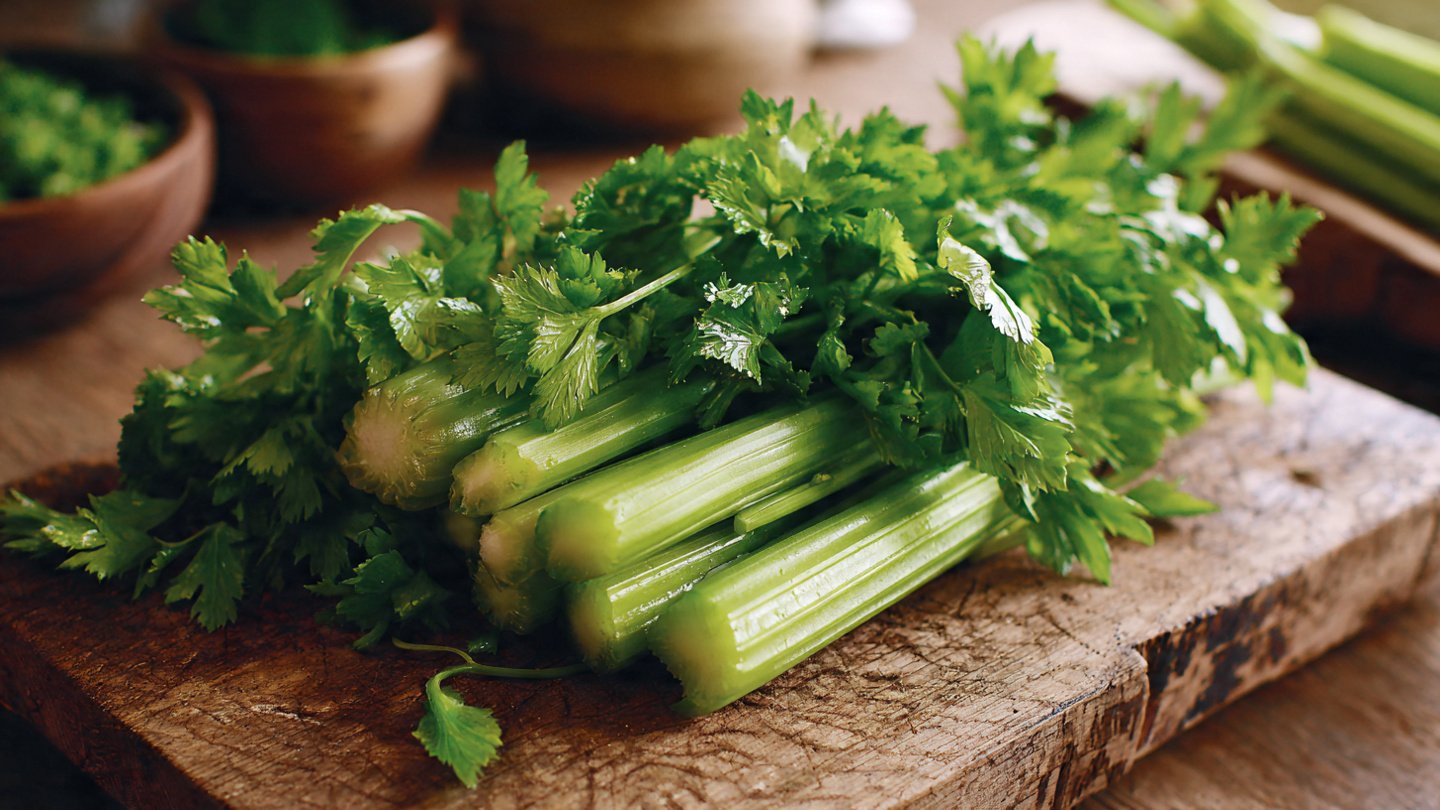
Celery (Apium graveolens) is a biennial plant, typically grown as an annual, belonging to the Apiaceae family. It’s known for its crisp texture and strong flavor, making it a popular ingredient in many dishes. Celery stalks are low in calories but packed with essential nutrients, including vitamins A, C, and K, as well as minerals like potassium and folate. A great source of dietary fiber, celery can aid in digestion and help maintain healthy weight.
Latest Posts
- OnePlus Turbo 6V 5G Launched – for Gamers with 9000mAh Battery, 220MP Camera & Snapdragon 8s Gen 4
- Realme GT 8 Pro Officially Launched – 200MP Camera, 7,000mAh Battery and Snapdragon 8 Elite
- OPPO K13 Turbo 5G Launched – 7,000mAh Battery, 50MP Camera and High-Performance Chipset
- Realme 17 Pro 5G Unveiled – IP69K Certified, 200MP Camera and Massive 8600mAh Battery
- Vivo Premium Smartphone Launched – 200MP Camera, 90W Fast Charging and 16GB RAM
- POCO F8 Ultra Launched – Snapdragon Flagship Power, Bose Audio and Huge Battery
- POCO F8 Ultra Launched – Snapdragon Flagship Power, Bose Audio and Huge Battery
- OnePlus Nord 3 5G Launched – 120Hz AMOLED Display, 50MP Camera and 5,000mAh Battery
- OnePlus Nord CE4 Launched – Powerful Snapdragon 7 Gen 3, 50MP Camera and Long-Lasting Battery
- OnePlus Smartphone Revealed – Premium 5G Smartphone with 200MP Camera, 24GB RAM and 100W Fast Charging
Choosing the Right Variety
When it comes to growing celery, the first step is selecting the right variety. There are several types of celery, including:
- Green Celery: The most common type, known for its vibrant flavor.
- Golden Celery: Slightly milder and sweeter than green celery, with a yellowish hue.
- Self-Blanching Celery: This variety is great for gardeners in warmer climates, as it tends to grow more consistently without the need for extensive blanching techniques.

Choose a variety that suits your climate and taste preference.
Preparing Your Growing Space
Celery thrives in cool weather, ideal for fall and spring planting. It requires a growing space that receives full sun (at least 6 to 8 hours a day) with rich, well-drained soil. Here’s how to prepare your space:
- Select a Location: Find a spot in your garden that gets adequate sunlight and has good air circulation.
- Soil Preparation: Celery prefers loamy, nutrient-rich soil with a pH between 6.0 and 7.0. Enhance your soil with organic matter like compost or well-rotted manure.
- Bed Layout: Create raised beds or rows to improve drainage, which is essential for celery.
Planting Celery Seeds
Start your celery seeds indoors 10-12 weeks before the last expected frost. Here’s how to go about it:
- Seedling Preparation: Fill seed trays or pots with seed-starting mix, and dampen the mix thoroughly.
- Sowing Seeds: Sprinkle seeds thinly on the surface without covering them; they require light for germination.
- Water and Maintain: Mist the surface to keep the soil moist, placing trays in a warm location until germination (about 14-21 days).

Once seedlings are about 2 inches tall, transplant them into larger pots to encourage further growth.
Transplanting Seedlings Outdoors
When the seedlings are 4-6 inches tall and have at least two true leaves, they can be transplanted outdoors. Follow these steps:
- Hardening Off: Gradually expose seedlings to outdoor conditions over a week to acclimatize them.
- Transplanting: Space seedlings about 10-12 inches apart in rows that are 24 inches apart.
- Watering: Water the newly transplanted seedlings thoroughly.
Caring for Your Celery Plants

Proper care is fundamental to growing healthy celery. Here are some care tips:
- Watering: Celery has high water requirements; ensure the soil remains consistently moist but not soggy.
- Fertilization: Use a balanced, organic fertilizer to provide key nutrients throughout the growing season.
- Pest Management: Monitor your plants for pests like aphids and cutworms, and use organic insecticidal soap if necessary.
- Weed Control: Regularly remove weeds to prevent competition for nutrients.
Harvesting Celery
Celery typically takes about 90-120 days to mature, depending on the variety. Here’s how to determine when it’s time to harvest:
- Size: Celery is ready to be harvested when the stalks are about 8-10 inches tall and feel firm to the touch.
- Cutting Stalks: Use a sharp knife to cut the stalks at the base, allowing you to harvest from the outer stalks while leaving the inner ones to continue growing.

Storing Celery for Later Use
Freshly harvested celery can be kept for several weeks if stored properly. Here are some effective storage tips:
- Refrigeration: Wrap in aluminum foil before placing it in the crisper drawer of your refrigerator to keep it crisp.
- Freezing: Wash, chop, and blanch celery for 3 minutes before placing it in airtight containers or freezer bags for later use.
Conclusion
Growing your own celery can be a straightforward and satisfying process, resulting in a deliciously healthy snack that brings a burst of freshness to your diet. By choosing the right variety, preparing your growing space, and following proper care techniques, you will cultivate celery that is not only beneficial to your health but also enhances the flavors of your meals. With the knowledge and tips shared in this article, you can embark on this gardening journey with confidence, enjoying the fruits of your labor for months to come.
FAQs
1. How long does it take for celery to grow?
Celery typically takes about 90-120 days to reach maturity, depending on the variety and growing conditions.

2. Can I grow celery in containers?
Yes, celery can be grown in containers. Choose a pot that is at least 12 inches deep and wide to provide enough space for the roots.
3. Does celery need a lot of sun?
Celery thrives in full sun, requiring at least 6 to 8 hours of sunlight each day for optimal growth.
4. What pests should I watch out for when growing celery?
Aphids, cutworms, and celery flies are common pests that might affect celery plants. Regular monitoring and use of organic pest control methods can help manage them.
5. Can I regrow celery from kitchen scraps?
Yes, you can regrow celery from kitchen scraps. Place the base of the stalk in a small bowl of water and set it in a sunny location. After several days, roots will begin to develop, and you can then transplant it into soil.
Leave a Reply