Creating a natural dye garden is a rewarding endeavor that allows you to produce beautiful colors from organic materials. Whether you’re a seasoned gardener or a beginner, this guide will provide you with practical steps to cultivate a vibrant garden filled with plants that yield rich dyes.
1. Understanding Natural Dyes
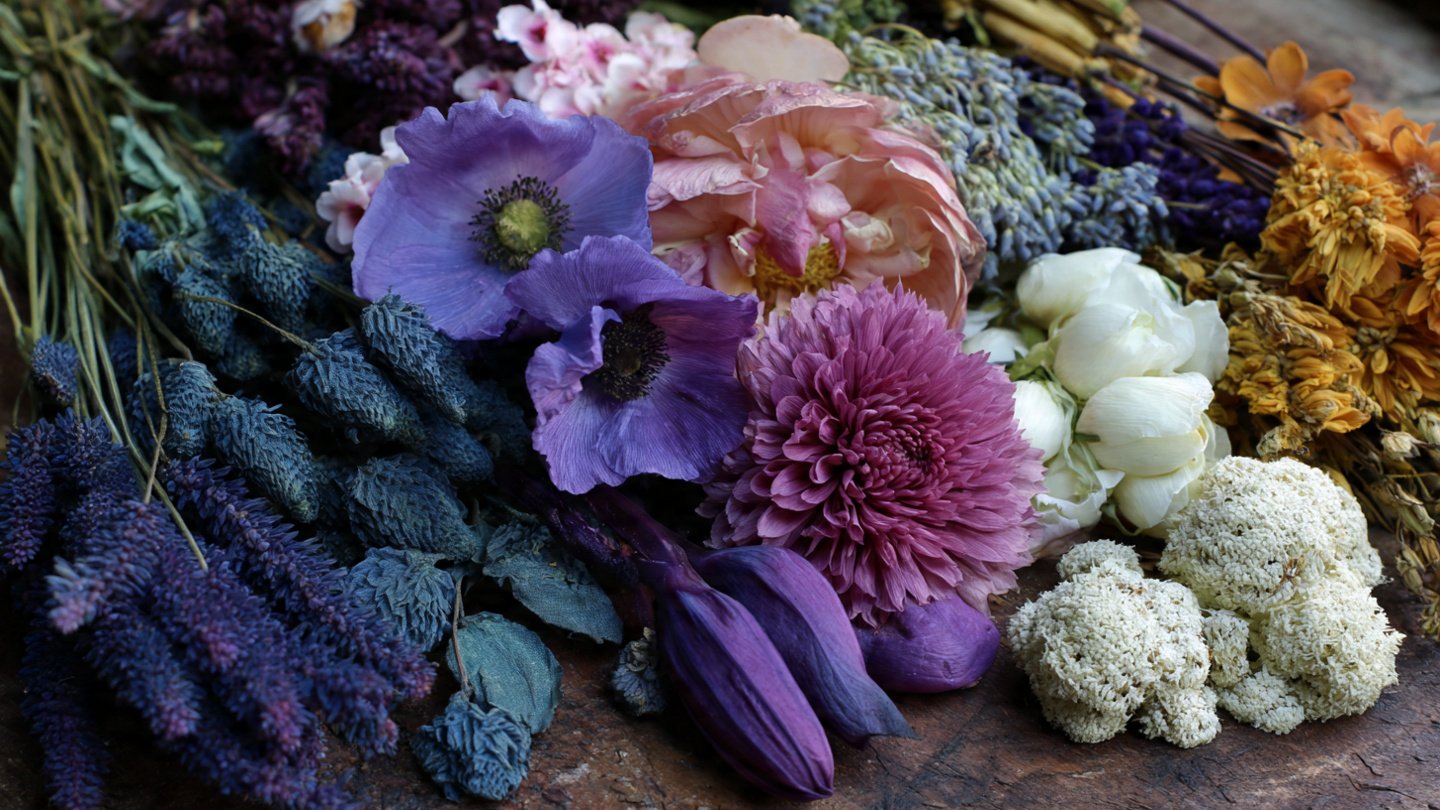
Natural dyes are extracted from various plant materials, including leaves, stems, roots, and flowers. They offer a wide range of hues and tones, often with a unique depth that synthetic dyes cannot replicate. The first step to cultivating a natural dye garden is to understand the different types of plants and their dyeing properties.
Latest Posts
- OnePlus Turbo 6V 5G Launched – for Gamers with 9000mAh Battery, 220MP Camera & Snapdragon 8s Gen 4
- Realme GT 8 Pro Officially Launched – 200MP Camera, 7,000mAh Battery and Snapdragon 8 Elite
- OPPO K13 Turbo 5G Launched – 7,000mAh Battery, 50MP Camera and High-Performance Chipset
- Realme 17 Pro 5G Unveiled – IP69K Certified, 200MP Camera and Massive 8600mAh Battery
- Vivo Premium Smartphone Launched – 200MP Camera, 90W Fast Charging and 16GB RAM
- POCO F8 Ultra Launched – Snapdragon Flagship Power, Bose Audio and Huge Battery
- POCO F8 Ultra Launched – Snapdragon Flagship Power, Bose Audio and Huge Battery
- OnePlus Nord 3 5G Launched – 120Hz AMOLED Display, 50MP Camera and 5,000mAh Battery
- OnePlus Nord CE4 Launched – Powerful Snapdragon 7 Gen 3, 50MP Camera and Long-Lasting Battery
- OnePlus Smartphone Revealed – Premium 5G Smartphone with 200MP Camera, 24GB RAM and 100W Fast Charging
Popular Dye Plants
- Indigo (Indigofera tinctoria): A classic source of blue dye.
- Madder (Rubia tinctorum): Produces vibrant red hues.
- Marigold (Tagetes): Offers yellows and golds.
- Weld (Reseda luteola): A source of bright yellow dye.
- Black Walnut (Juglans nigra): Provides rich browns.
2. Selecting the Right Location
Choosing a suitable location for your dye garden is crucial. Most dye plants thrive in full sun and well-drained soil. Look for a spot in your garden that receives at least six hours of sunlight a day. The soil should be rich in organic matter; consider conducting a soil test to determine its nutrient content.

3. Preparing the Soil
Once you’ve selected the right location, prepare the soil before planting. This includes:
- Clearing the area of any weeds or debris.
- Amending the soil with compost or organic matter to improve fertility.
- Tilling the soil to a depth of at least 12 inches to ensure good aeration.
4. Choosing the Right Plants
When choosing plants for your dye garden, consider a mix of species to ensure a variety of colors. It’s also beneficial to select plants that are native to your region, as they are typically easier to grow. Here are some additional plants you can include:
- Goldenrod (Solidago): Great for yellow tones.
- Coreopsis: Produces lovely yellows and oranges.
- Hibiscus: Yields warm reds and pinks.

5. Planting Techniques
When it comes to planting, follow these guidelines:
- Space the plants according to their mature size to prevent overcrowding.
- Water the plants well after planting to promote strong root development.
- Mulch around the base of plants to retain moisture and suppress weeds.
6. Maintaining Your Dye Garden
Proper maintenance is essential for a healthy dye garden. Here are key practices to adopt:
- Watering: Ensure plants receive adequate water, especially during dry spells. Early morning is the best time to water.
- Weeding: Regularly check for weeds as they can compete for nutrients and water.
- Pest Management: Monitor for pests and use organic methods to control infestations.
7. Harvesting Your Plants

Once your plants are established, you’ll be able to harvest them for dyeing. The best time to harvest depends on the plant and the part you want to use:
- For flowers, harvest when they are fully open.
- Roots are typically harvested in the fall or when the plant is at least two years old.
- Leaves can often be harvested throughout the growing season.
8. Dye Extraction Techniques
After harvesting, it’s time to extract the dye. Different methods exist, but here’s a general approach:
- Chop or crush the plant material to increase surface area.
- Simmer the plant material in water for 30-60 minutes to release the dye.
- Strain the mixture, and the resulting liquid will be your dye.
9. Experimenting with Dyeing
With your natural dye extracted, you’re ready to start dyeing fabrics. Experiment with different materials, including cotton, wool, and silk. Remember that the same dye can yield different colors depending on the fabric and mordant used. Common mordants include alum, iron, and tannin, which help fix the dye to the fabric.

10. Documenting Your Results
Keep a journal to document the plants you’ve grown, the dye extraction methods you’ve used, and the results of your dyeing experiments. This will help you refine your process over time and create a valuable resource for future projects.
Conclusion
Cultivating a vibrant natural dye garden is not only a fulfilling project but also a way to connect with nature and explore the art of dyeing. From selecting the right plants to mastering dye extraction techniques, each step is an opportunity for creativity and learning. With patience and care, your garden can flourish, producing a stunning array of natural dyes for a variety of crafts and projects.
FAQs
1. What plants should I start with in my natural dye garden?
Consider starting with easy-to-grow options such as marigold for yellows, madder for reds, and indigo for blues. These plants are well-established and known for their dyeing capabilities.
2. How do I know which mordant to use?
The choice of mordant can affect the color and fastness of your dyes. Alum is a common choice for bright colors, while iron may darken shades. Experimentation will help you find what works best for the specific plants you are using.
3. Can I grow dye plants in containers?

Yes, many dye plants can be grown in containers! Ensure the pots have proper drainage and use quality potting mix to support healthy growth.
4. How do I safely dispose of used dye materials?
After dyeing, you can compost plant materials if they are non-toxic. Always check the safety of specific plants to ensure they won’t harm your compost or local wildlife.
5. Can I dye synthetic fabrics with natural dyes?
While it’s best to dye natural fibers for optimal results, synthetic muslin or fabrics may achieve some level of color. Using a mordant can help, but the results may not be as vibrant or fast as with natural fibers.
Leave a Reply