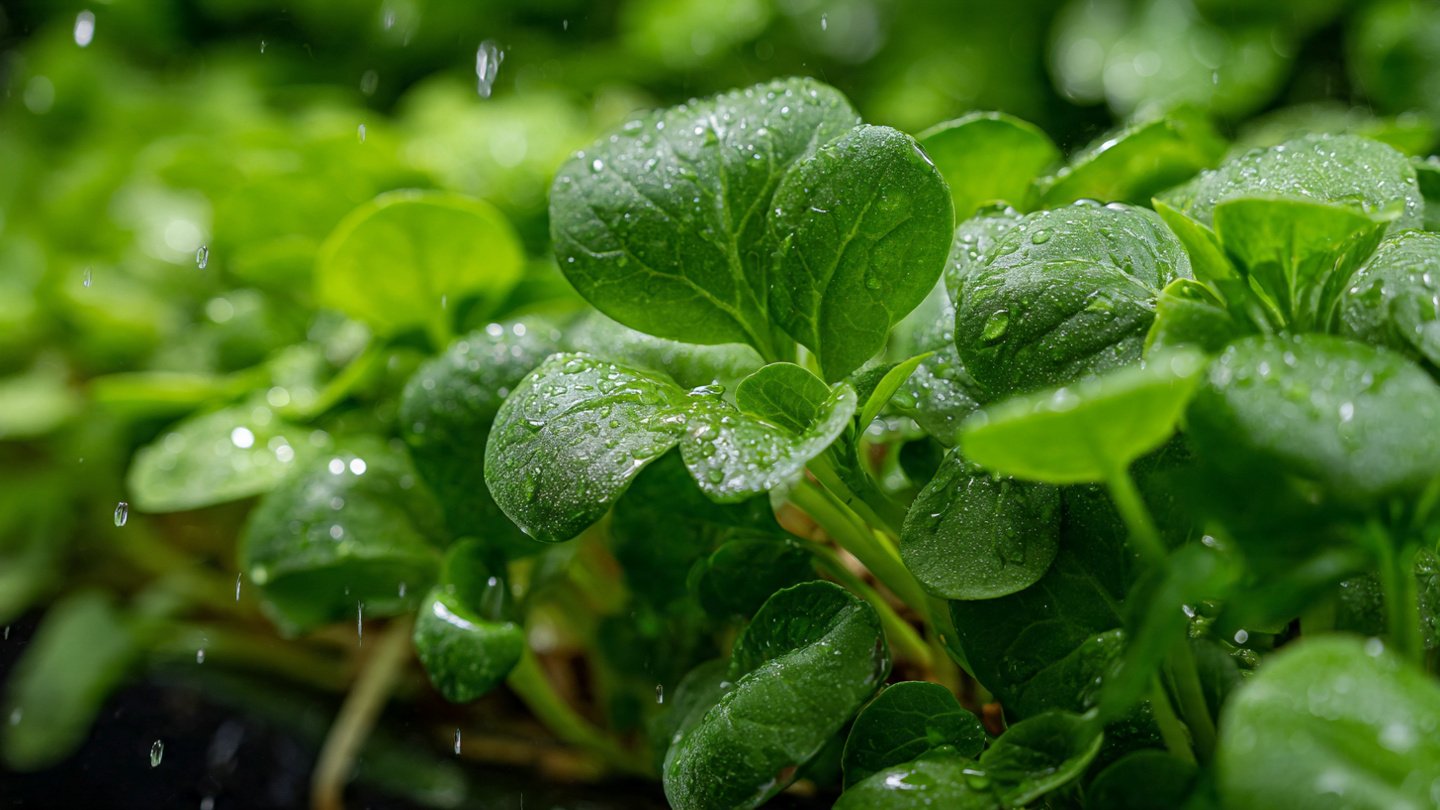
Watercress (Nasturtium officinale) is a fast-growing aquatic plant that belongs to the Brassicaceae family. Known for its peppery flavor, it’s not just a culinary delight but also immensely nutritious, rich in vitamins A, C, and K. Growing healthy watercress requires some understanding of its unique needs. Here, we delve into the secrets of growing lush, vibrant bunches of watercress.
Understanding Watercress
Watercress thrives in slow-moving water but can also be grown in soil. It is native to Europe and Asia, and its natural habitat includes streams, rivers, and marshes. Watercress is a perennial plant, and with the right conditions, it can provide continuous harvests throughout the growing season.
Latest Posts
- OnePlus Turbo 6V 5G Launched – for Gamers with 9000mAh Battery, 220MP Camera & Snapdragon 8s Gen 4
- Realme GT 8 Pro Officially Launched – 200MP Camera, 7,000mAh Battery and Snapdragon 8 Elite
- OPPO K13 Turbo 5G Launched – 7,000mAh Battery, 50MP Camera and High-Performance Chipset
- Realme 17 Pro 5G Unveiled – IP69K Certified, 200MP Camera and Massive 8600mAh Battery
- Vivo Premium Smartphone Launched – 200MP Camera, 90W Fast Charging and 16GB RAM
- POCO F8 Ultra Launched – Snapdragon Flagship Power, Bose Audio and Huge Battery
- POCO F8 Ultra Launched – Snapdragon Flagship Power, Bose Audio and Huge Battery
- OnePlus Nord 3 5G Launched – 120Hz AMOLED Display, 50MP Camera and 5,000mAh Battery
- OnePlus Nord CE4 Launched – Powerful Snapdragon 7 Gen 3, 50MP Camera and Long-Lasting Battery
- OnePlus Smartphone Revealed – Premium 5G Smartphone with 200MP Camera, 24GB RAM and 100W Fast Charging
Choosing the Right Growing Conditions
The first step in growing healthy watercress is to provide the right environment. Here are the conditions to consider:
1. Water Requirements
Watercress flourish in water that is cool and flowing. Ideally, the water temperature should be below 70°F (21°C). If you are growing it in soil, ensure it remains consistently moist and well-drained.
2. Light Conditions
Watercress prefers partial to full sunlight. Aim for at least four hours of direct sunlight daily. However, in extreme Southern climates, providing some shade during the hottest part of the day can help maintain optimal growth.

3. Soil Type
If you opt for soil growth, use a rich, loamy soil that is high in organic matter. Watercress benefits from nutrient-rich soil that allows for good drainage. Adding compost or aged manure can improve soil quality and fertility.
Starting Watercress Seeds
You can grow watercress from seeds or cuttings. Starting from seeds allows for more control over your watercress crop.
1. Seed Selection
Select high-quality seeds or seed packets from reputable suppliers. Look for varieties specifically bred for vegetable gardening.
2. Germination Process
To germinate the seeds, soak them in water for 24 hours prior to planting. This process aids germination. You can plant the seeds directly in soil or in a water-filled container. If planting in soil, make shallow rows and cover lightly with soil.
3. Care During Germination

Keep the soil or water moist but not waterlogged. Within a week or two, you should see seedlings emerging.
Transplanting Seedlings
Once your seedlings are about two inches tall, they can be transplanted to the growing site, whether in soil or in a water garden.
1. Spacing
Space seedlings about 6 inches apart for optimal growth. This ensures that each plant has enough room to grow and that there is adequate airflow.
2. Acclimatization
If you’re moving the seedlings from indoors to outdoors, it’s crucial to acclimatize them to the new conditions gradually. Start by placing them outside for a few hours each day for about a week before transplanting.
Maintaining Healthy Watercress
Once your watercress is established, proper maintenance is key to encouraging robust growth.
1. Water Management

For plants growing in soil, it’s crucial to keep the soil consistently moist, especially during dry spells. If growing in a water-filled container, make sure the water is refreshed regularly.
2. Fertilization
Feed your watercress with a balanced, water-soluble fertilizer every few weeks. High-nitrogen fertilizers can significantly enhance growth and produce larger bunches.
3. Pest and Disease Control
While watercress is relatively pest-resistant, it can attract aphids, snails, and slugs. Regularly check your plants for pests and remove them manually. If diseases such as downy mildew or root rot appear, ensure the plants are adequately spaced and that the growing area has good airflow.
Harvesting Watercress
The great thing about watercress is that it can be harvested multiple times during the growing season, often within four to six weeks after planting. Here’s how to harvest:
1. Timing
Harvest in the morning when the leaves are crisp, and flavor is at its peak. The best time to harvest is before the plant starts to flower, as the leaves may become tough post-bloom.
2. Cutting Method

Use clean, sharp scissors to snip the stems about one inch above the base. This encourages the plant to produce new growth and allows for multiple harvests throughout the season.
Conclusion
Growing healthy watercress doesn’t have to be a challenge. By understanding its unique needs related to water, light, soil, and care, you can achieve abundant harvests of this nutritious green. Whether you grow it in a water garden or in the soil, the secret lies in maintaining optimal conditions, diligent care, and timely harvesting. By following these guidelines, you’ll not only enjoy a bountiful yield but also reap the culinary and health benefits that watercress has to offer.
FAQs
1. How long does it take for watercress to grow from seed?
Watercress typically takes about 2-3 weeks to germinate and can be ready for harvesting in about 4-6 weeks after seeding.
2. Can I grow watercress in containers?
Yes, you can grow watercress in containers filled with water, ensuring the roots are submerged. Alternatively, you can fill the container with moist soil.

3. What should I do if my watercress is wilting?
If your watercress is wilting, it may need more moisture. Check the soil or water level and ensure it is consistently wet. If growing in water, change the water regularly to prevent stagnation.
4. Can I grow watercress indoors?
Absolutely! Watercress can be grown indoors by using a hydroponic system, or you can place pots in a sunny spot where the plants receive enough light.
5. How do I store harvested watercress?
Freshly harvested watercress can be stored in the refrigerator in a damp paper towel or in a jar with water like a bouquet. It’s best used within a few days for optimal flavor.
Leave a Reply