Growing your own food can be a rewarding experience, especially when it comes to adding fresh, nutritious ingredients to your meals. One of the easiest and most rewarding plants to grow indoors is sunflower shoots. These young sprouts not only add a vibrant touch to your dishes but also pack a nutritional punch. In this comprehensive guide, we’ll explore how to grow sunflower shoots indoors, covering everything from the selection of seeds to tips for incorporation into your meals.
1. Understanding Sunflower Shoots
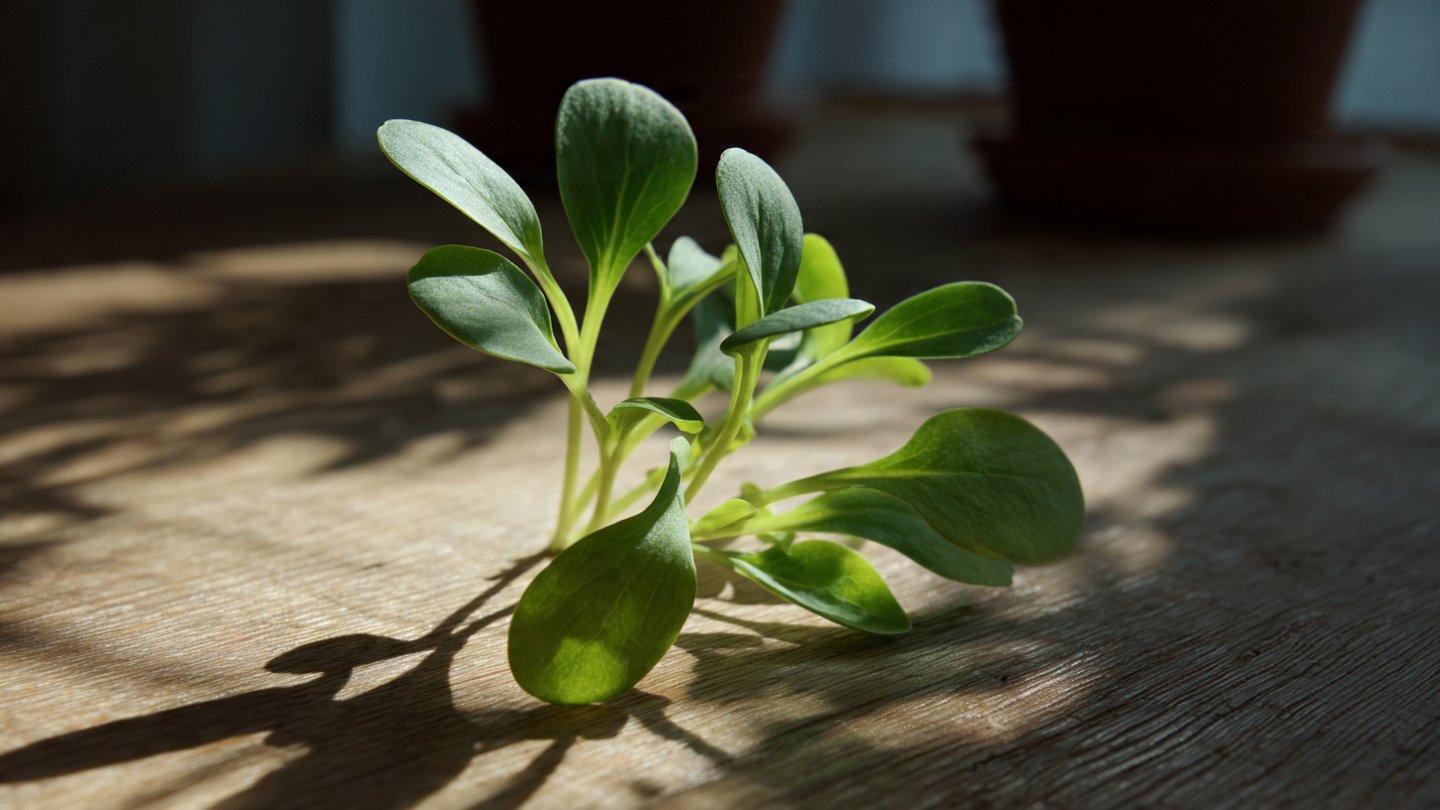
Sunflower shoots are the young seedlings of sunflower seeds. They typically emerge within 7 to 14 days after planting, depending on conditions. Unlike mature sunflowers, shoots are tender, rich in flavor, and contain a wealth of nutrients, including protein, vitamins, and minerals. Here are some key benefits:
Latest Posts
- OnePlus Turbo 6V 5G Launched – for Gamers with 9000mAh Battery, 220MP Camera & Snapdragon 8s Gen 4
- Realme GT 8 Pro Officially Launched – 200MP Camera, 7,000mAh Battery and Snapdragon 8 Elite
- OPPO K13 Turbo 5G Launched – 7,000mAh Battery, 50MP Camera and High-Performance Chipset
- Realme 17 Pro 5G Unveiled – IP69K Certified, 200MP Camera and Massive 8600mAh Battery
- Vivo Premium Smartphone Launched – 200MP Camera, 90W Fast Charging and 16GB RAM
- POCO F8 Ultra Launched – Snapdragon Flagship Power, Bose Audio and Huge Battery
- POCO F8 Ultra Launched – Snapdragon Flagship Power, Bose Audio and Huge Battery
- OnePlus Nord 3 5G Launched – 120Hz AMOLED Display, 50MP Camera and 5,000mAh Battery
- OnePlus Nord CE4 Launched – Powerful Snapdragon 7 Gen 3, 50MP Camera and Long-Lasting Battery
- OnePlus Smartphone Revealed – Premium 5G Smartphone with 200MP Camera, 24GB RAM and 100W Fast Charging
- Nutritional Richness: Sunflower shoots are rich in vitamins A, B, C, and D, along with essential fatty acids, amino acids, and antioxidants.
- Flavor Profile: They have a nutty and slightly sweet flavor, making them an excellent addition to salads, sandwiches, and smoothies.
- Versatility: They can be used in various dishes, enhancing both flavor and nutritional value.
2. Selecting the Right Seeds
2.1 Choosing Organic Seeds
When growing sunflower shoots, it’s crucial to choose seeds specifically meant for sprouting. Look for organic, non-GMO seeds, as they are grown without harmful pesticides and chemicals. Brands like “True Leaf Market,” “Mason Jar Herb Co.,” or “Sprout House” are renowned for their quality sprouting seeds.
2.2 Seed Variety

While the most common variety for shoots is the Helianthus annuus, which is the standard sunflower, you might also explore other varieties that can have varying flavors and colors.
3. Materials Needed
Before you start your indoor garden, gather the necessary materials:
- Containers: Shallow trays or containers with drainage holes (seed trays work well)
- Soil: Organic potting soil suitable for seedlings (ensure it’s fine-textured and free of chemicals)
- Water: Use clean, preferably filtered water for soaking and daily maintenance
- Light Source: A bright window or grow lights for adequate light exposure
4. Step-by-Step Guide to Growing Sunflower Shoots
4.1 Soaking the Seeds
-
Measure Seeds: Start by measuring out about 1 cup of sunflower seeds. This will yield approximately 2 to 3 cups of sunflower shoots.
-
Soak: Place the seeds in a bowl and cover them with clean water. Soak the seeds for about 8 to 12 hours. This pre-soaking helps to germinate the seeds by softening the outer shell and speeding up the sprouting process.

4.2 Preparing the Container
-
Filling with Soil: Fill your shallow container with organic potting soil. Ensure it’s about 1-2 inches deep.
-
Watering: Moisten the soil lightly with water. It should be damp but not soggy, as excess water can lead to mold growth.
4.3 Planting the Seeds
-
Sowing: After soaking, drain the seeds and spread them evenly over the surface of the moistened soil. Aim for a dense but not overcrowded layer.
-
Covering Seeds: Lightly sprinkle a thin layer of soil over the seeds, around 1/4 inch thick. This can help protect them during germination.
4.4 Sprouting in the Dark

-
Watering Again: Lightly mist or water gently to ensure the seeds are moistened.
-
Covering: To simulate darkness (which promotes sprouting), cover the tray with a dark cloth or another tray upside down. Keep it in a warm area, ideally between 70-75°F (21-24°C).
4.5 Providing Light
After about 24-48 hours, check on the seeds. Once you see a few shoots popping up, it’s time to introduce light.
-
Uncovering: Remove the cover and place the tray in a location where it can receive bright, indirect light. If you’re using grow lights, keep them on for about 12-16 hours a day.
-
Daily Watering: Mist or water the soil daily, ensuring it stays moist but not waterlogged.
4.6 Harvesting
-
Growth Period: Sunflower shoots are typically ready for harvest in 7 to 12 days, once they reach around 3 to 6 inches in height.
-
Cutting: Use clean scissors to cut the shoots just above the soil level. Rinse them under cool water to remove any soil or debris.
-
Storage: Store the harvested sunflower shoots in a sealed container in the refrigerator. They typically last for about a week.

5. Incorporating Sunflower Shoots into Your Meals
5.1 Salads
Sunflower shoots add a crunchy texture and nutty flavor to salads. Mix them with other greens, nuts, and a light vinaigrette for a refreshing dish.
5.2 Sandwiches and Wraps
Use sunflower shoots in sandwiches or wraps for an added nutritional boost. They pair well with avocado, turkey, or vegetables, adding both flavor and crunch.
5.3 Smoothies
Blend sunflower shoots into smoothies along with your favorite fruits and vegetables for an added layer of nutrition.

5.4 Garnishing Dishes
Use sunflower shoots as a garnish for soups, stews, or main dishes. Their vibrant green color elevates the presentation of any meal.
6. Troubleshooting Common Issues
6.1 Mold Growth
If you notice any mold, it’s likely a result of too much moisture. Ensure you’re not overwatering the seeds and provide good air circulation.
6.2 Leggy Shoots
If your shoots appear leggy (long and spindly), this may indicate they are not receiving enough light. Move them closer to a bright source or adjust your grow lights.
7. Conclusion
Growing sunflower shoots indoors is a simple, rewarding process that can enhance your meals with fresh, nutritious ingredients. With minimal effort, you can enjoy the added benefits of homegrown produce while enjoying the satisfaction of nurturing your food from seed to plate. Whether you use them in salads, sandwiches, or smoothies, sunflower shoots will undoubtedly elevate your culinary creations. So gather your materials, soak your seeds, and start your indoor gardening journey! Enjoy the process and the delicious results.
Leave a Reply