Microgreens have surged in popularity due to their nutritional benefits, vibrant flavors, and appealing aesthetics. Among them, dill microgreens stand out for their distinctive taste, versatile culinary applications, and ease of cultivation. If you’re wondering whether you can successfully grow dill microgreens at home, the answer is a resounding yes! This guide will take you through the entire process—from selecting the right materials to harvesting your lush dill microgreens.
What are Dill Microgreens?
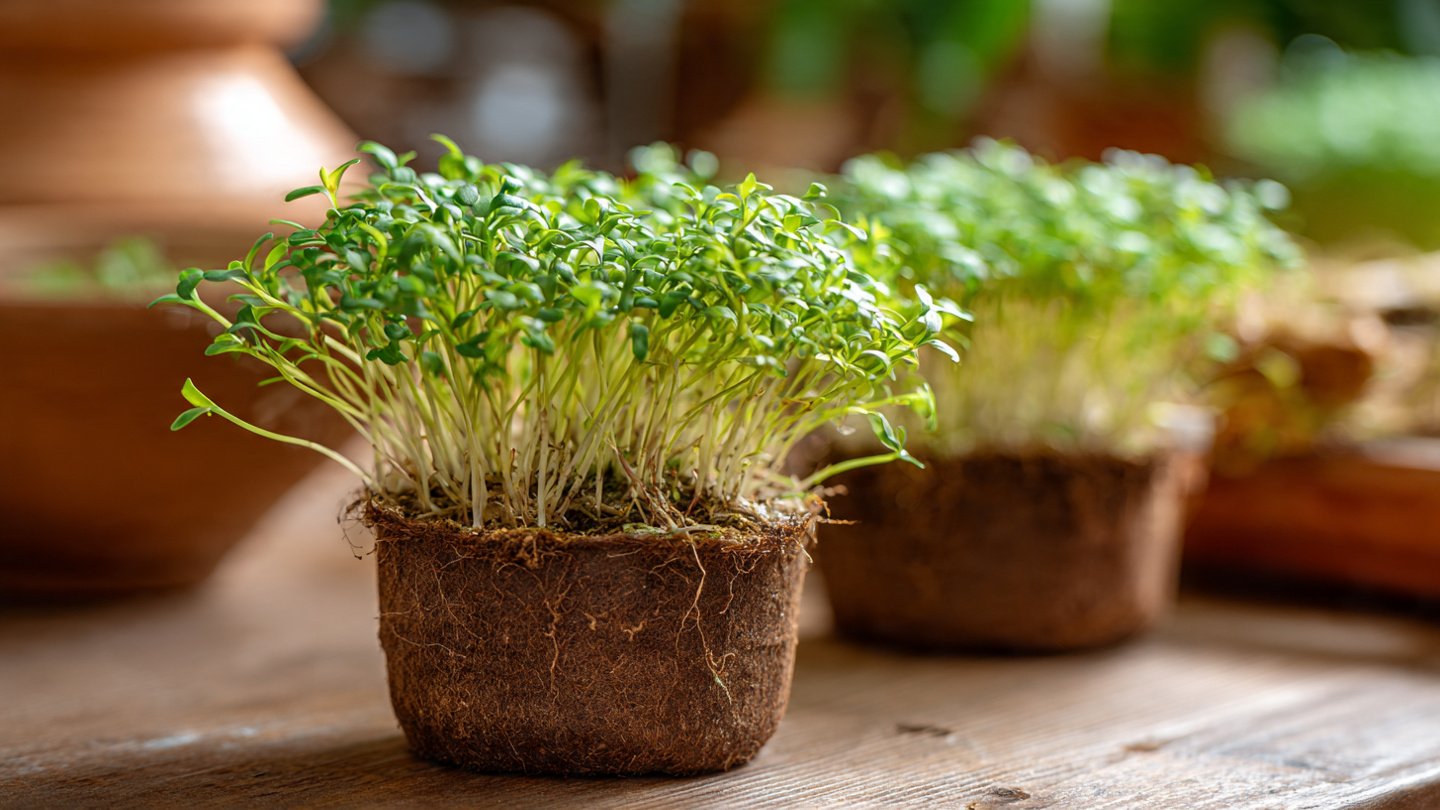
Dill microgreens are young seedlings of the dill plant, scientifically known as Anethum graveolens. They are packed with nutrients such as vitamins A, C, and K, and minerals like calcium and iron. Dill microgreens are a fantastic addition to salads, soups, and sandwiches, offering a fresh, feathery flavor that can elevate a variety of dishes.
Benefits of Growing Dill Microgreens
- Nutritional Value: Microgreens are concentrated sources of nutrients, often containing higher levels than their mature counterparts.
- Flavor Profile: Dill microgreens add a unique flavor to dishes, making them a favorite in culinary circles.
- Quick Growth: Dill microgreens can be sprouted and harvested within 10-14 days, making them an ideal choice for quick crops.
- Space-Efficient: They require minimal space, perfect for indoor gardening or small balconies.
- Year-Round Cultivation: With indoor growing setups, you can grow dill microgreens year-round, regardless of climate.
Things You’ll Need
To grow dill microgreens successfully, you will need the following materials:

- Seeds: Purchase high-quality dill seeds specifically for microgreens. Organic seeds are recommended for the best results.
- Growing Tray: Shallow trays or containers (about 1-2 inches deep) that have drainage holes.
- Growing Medium: Use a lightweight soil or soilless mix. Coconut coir and peat moss work well.
- Water: Clean water for moistening seeds and soil.
- Light Source: A sunny windowsill, grow lights, or fluorescent lights to provide adequate illumination.
- Humidity Dome: Optional, but can help retain moisture during the germination phase.
- Spray Bottle: For watering your microgreens without disturbing the soil.
Step-by-Step Guide to Growing Dill Microgreens
Step 1: Prepare Your Growing Medium
Begin by filling the growing tray with your chosen growing medium. Aim for a depth of about 1-2 inches. Ensure the medium is evenly spread and level. Moisten it with water until damp but not soggy. A well-drained, well-aerated medium will help promote healthy root growth.
Step 2: Sow the Seeds
Sprinkle dill seeds evenly across the surface of the moistened growing medium. It’s best to use a density of about 10-20 seeds per square inch for optimal growth. Once you’ve sown the seeds, gently press them into the soil to ensure good seed-to-soil contact.
Latest Posts
- OnePlus Turbo 6V 5G Launched – for Gamers with 9000mAh Battery, 220MP Camera & Snapdragon 8s Gen 4
- Realme GT 8 Pro Officially Launched – 200MP Camera, 7,000mAh Battery and Snapdragon 8 Elite
- OPPO K13 Turbo 5G Launched – 7,000mAh Battery, 50MP Camera and High-Performance Chipset
- Realme 17 Pro 5G Unveiled – IP69K Certified, 200MP Camera and Massive 8600mAh Battery
- Vivo Premium Smartphone Launched – 200MP Camera, 90W Fast Charging and 16GB RAM
- POCO F8 Ultra Launched – Snapdragon Flagship Power, Bose Audio and Huge Battery
- POCO F8 Ultra Launched – Snapdragon Flagship Power, Bose Audio and Huge Battery
- OnePlus Nord 3 5G Launched – 120Hz AMOLED Display, 50MP Camera and 5,000mAh Battery
- OnePlus Nord CE4 Launched – Powerful Snapdragon 7 Gen 3, 50MP Camera and Long-Lasting Battery
- OnePlus Smartphone Revealed – Premium 5G Smartphone with 200MP Camera, 24GB RAM and 100W Fast Charging
Step 3: Watering
After sowing, mist the seeds with water using a spray bottle. Be careful not to wash away the seeds or displace them in the soil. It’s important to maintain moisture without oversaturating the medium. Cover the tray with a humidity dome or plastic wrap to create a greenhouse effect, which helps retain moisture.

Step 4: Provide Light
Position your growing tray in a location where it will receive adequate light. Ideally, dill microgreens need about 12-16 hours of light per day. If you don’t have access to natural light, consider using grow lights. Place the lights about 2-4 inches above the seedlings and adjust as they grow.
Step 5: Germination Phase
During the germination phase, which typically lasts 3-7 days, keep the growing medium consistently moist but not drenched. Remove the humidity dome once the seeds begin to sprout to prevent mold growth.
Step 6: Care and Maintenance
Once your dill microgreens have germinated, they will begin to grow quickly. Continue to provide them with water as needed (daily misting should suffice), and ensure they receive enough light. If you notice the seedlings leaning or becoming “leggy,” they may be stretching for light; adjust your light source closer to them accordingly.

Step 7: Harvesting
Dill microgreens are usually ready for harvest after about 10-14 days, when they reach a height of about 2-3 inches and have developed their true leaves (the second pair of leaves). To harvest, use scissors to cut just above the soil line.
Step 8: Storage
After harvesting, rinse the dill microgreens gently in clean water and pat them dry using a paper towel. Store them in a breathable container in the refrigerator. For the best flavor and nutrient retention, consume them within 5-7 days.
Troubleshooting Common Issues
Even with the best intentions, growing microgreens can sometimes lead to challenges. Here are some common issues and solutions:

- Mold Growth: Excess moisture can lead to mold. Ensure proper air circulation, avoid excess water, and consider using a fan for ventilation if growing indoors.
- Leggy Seedlings: If your microgreens are stretching for light, they need more illumination. Adjust your light source closer to the seedlings or increase light duration.
- Yellowing Leaves: This could be a sign of overwatering or a nutrient deficiency. Ensure the growing medium drains well and consider adding a diluted nutrient solution.
- Slow Growth: If the microgreens aren’t growing as expected, assess your light duration, temperature, and humidity levels. Microgreens thrive in a warm environment (about 70-75°F).
Culinary Uses of Dill Microgreens
Dill microgreens can be used creatively in many culinary applications. Here are some ideas:
- Salads and Sandwiches: Add to fresh salads or sandwiches for a burst of flavor.
- Soups and Stews: Use as a garnish for soups and stews.
- Garnishes: Top off dishes like fish, eggs, or potatoes to add a hint of dill flavor.
- Smoothies and Juices: Blend into smoothies for added nutrition.
- Herb Butters: Mix into softened butter for a flavorful spread.
Conclusion
Growing dill microgreens at home is not only simple but also rewarding. With minimal effort and the right conditions, you can cultivate these flavorful greens that are brimming with nutrients. Whether you are a cooking enthusiast or a health-conscious individual, home-grown dill microgreens are an excellent addition to your kitchen.
Embarking on this journey will not only enhance your culinary experiences but also give you a sense of accomplishment as you watch your microgreens flourish. So gather your materials and get started—your home-grown dill microgreens are just a few weeks away!

Leave a Reply